

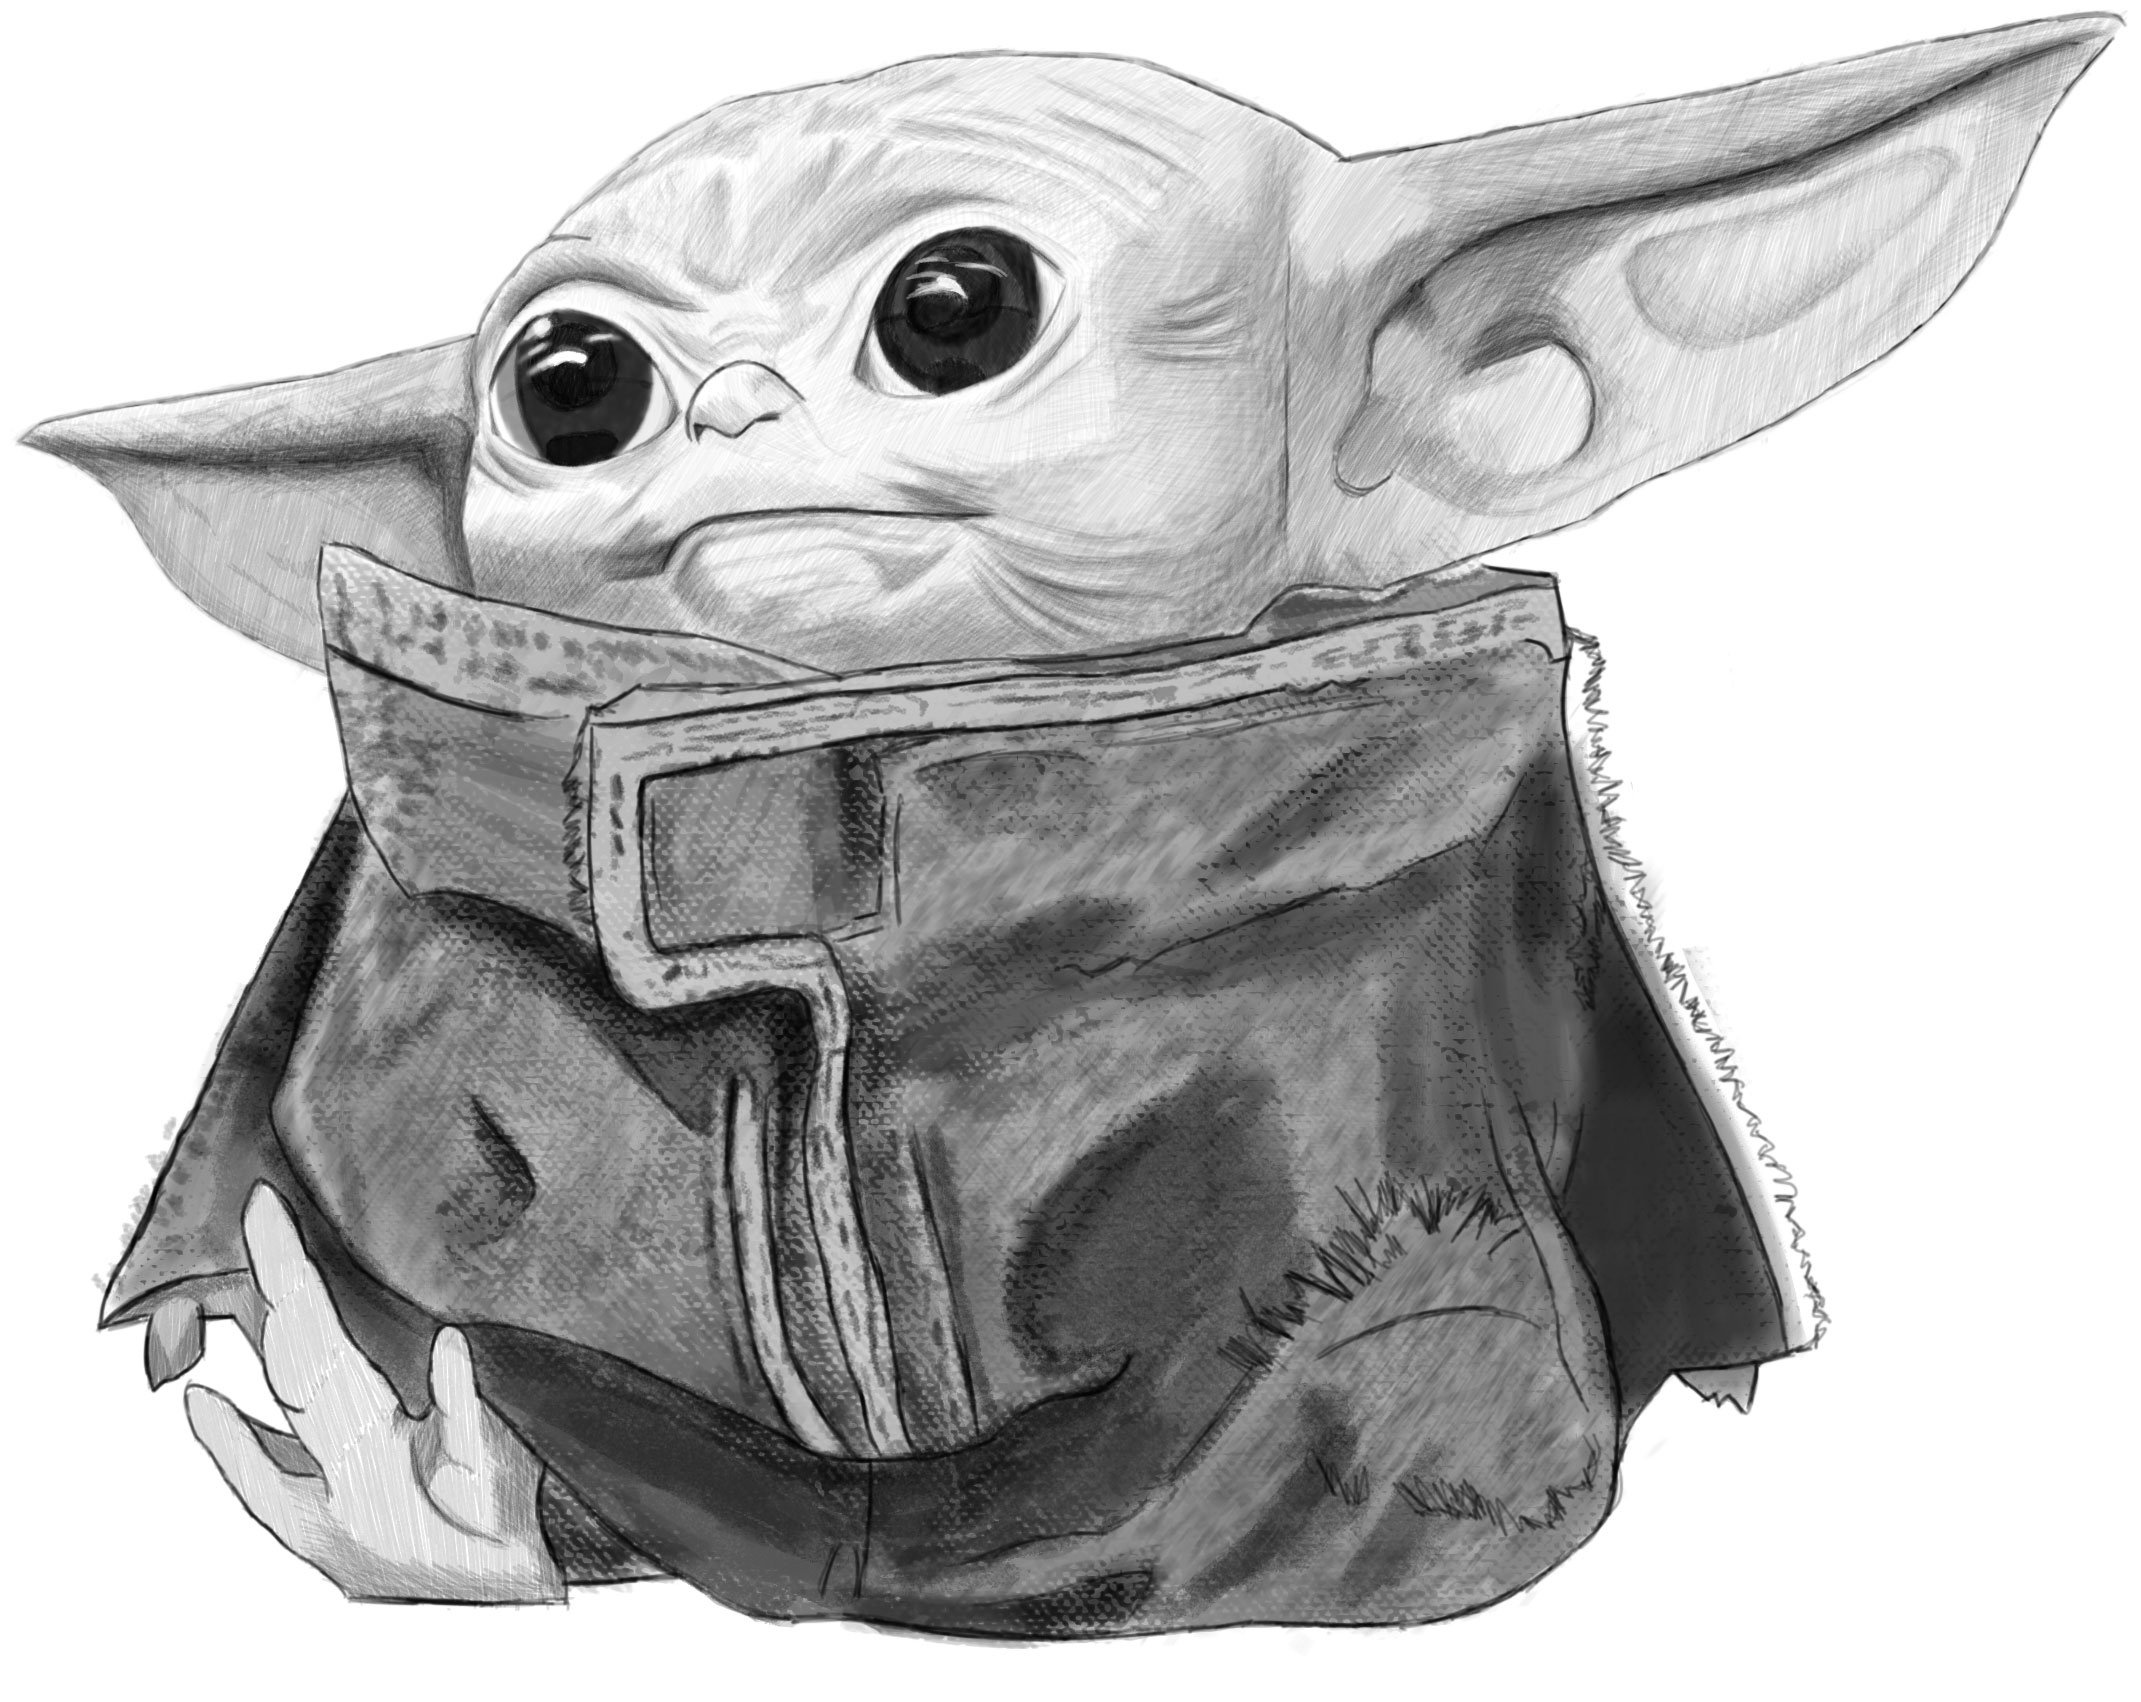
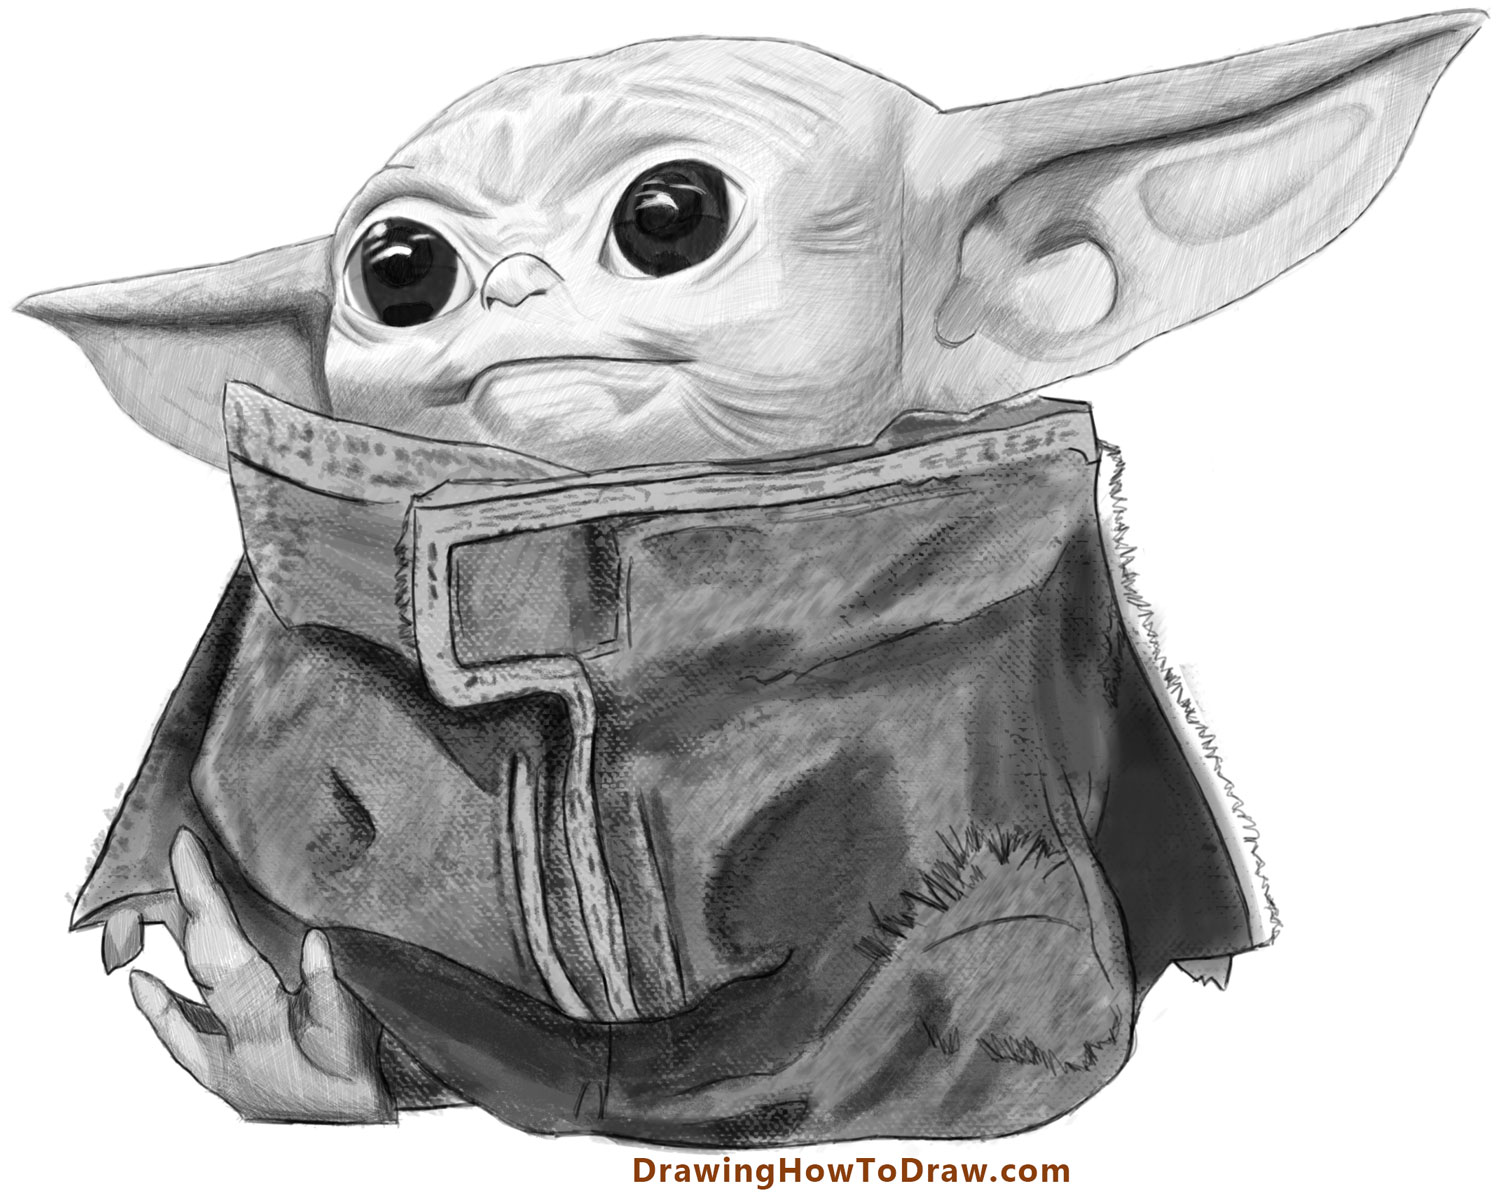
How To Draw Baby Yoda
Today, I'll show you how to draw a realistic Baby Yoda from The Mandalorian, likewise known as "the kid"or "the kid". Baby Yoda isn't his real name, but only something everybody seems to call him. I have broken this drawing tutorial down into more than 30 steps to make it equally easy as possible for you. I hope yous enjoy it. Happy Drawing!
How to Draw Infant Yoda from The Mandalorian (Realistic) – Piece of cake Stride past Pace Cartoon Tutorial
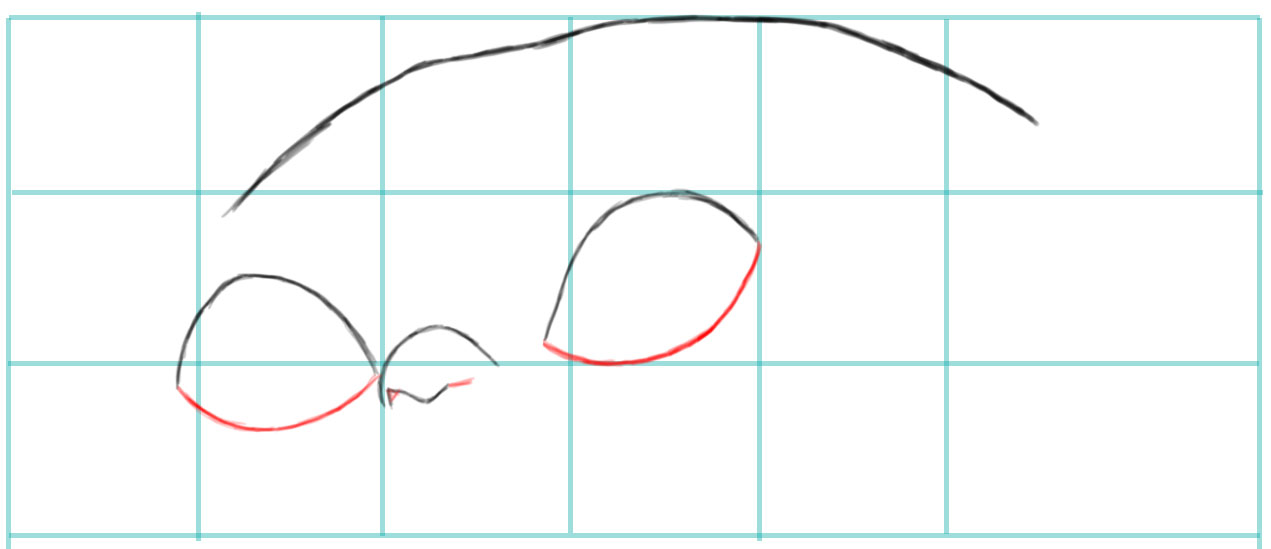
(Stride 01)

Draw a rectangle that is about eight inches broad past ten.half dozen inches long. Lightly separate the rectangle into 3 equal parts.
(Pace 02)
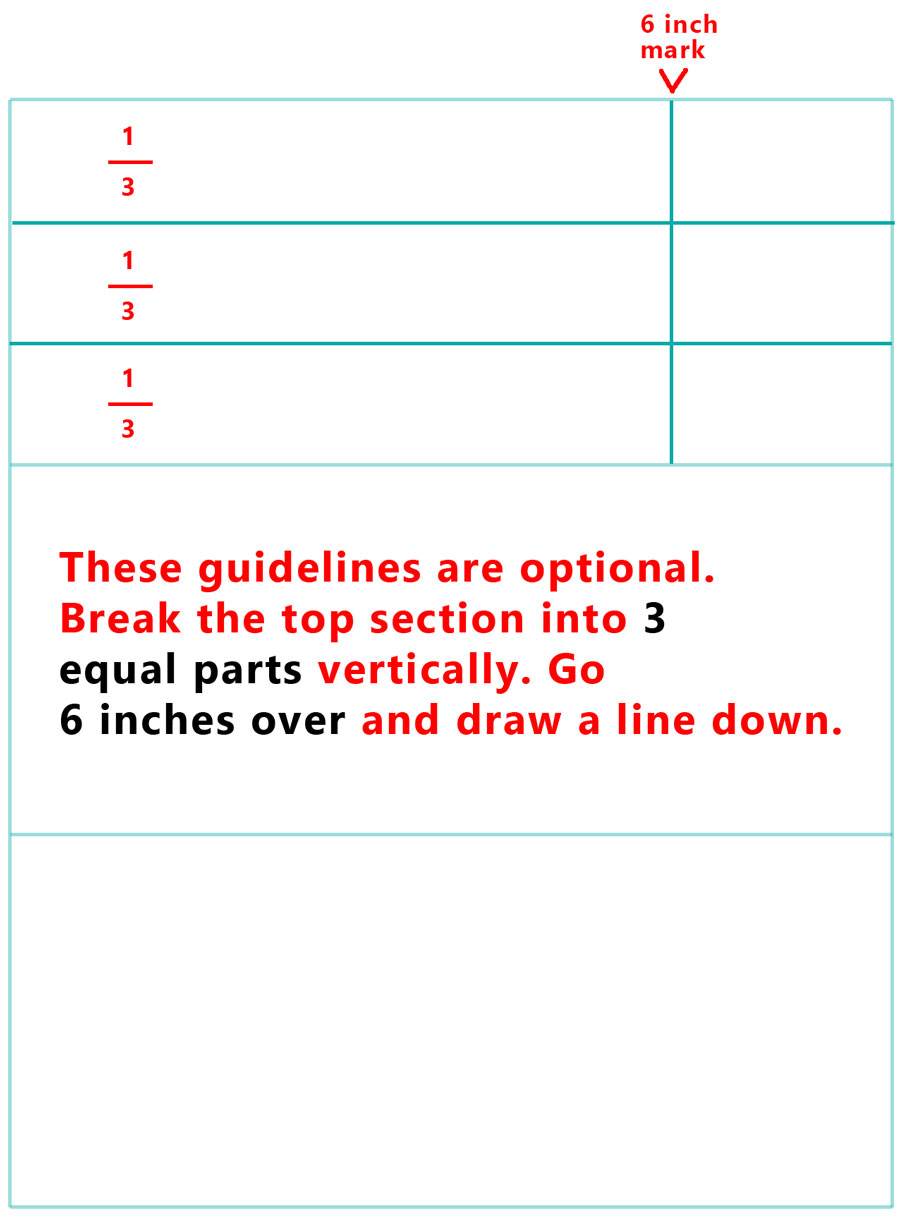
These guidelines are optional. Break the peak section into 3 equal parts vertically. Go 6 inches over and draw a line downward (if y'all drew this drawing viii inches wide, otherwise you could just get 75% of the line over).
(STEP 03)
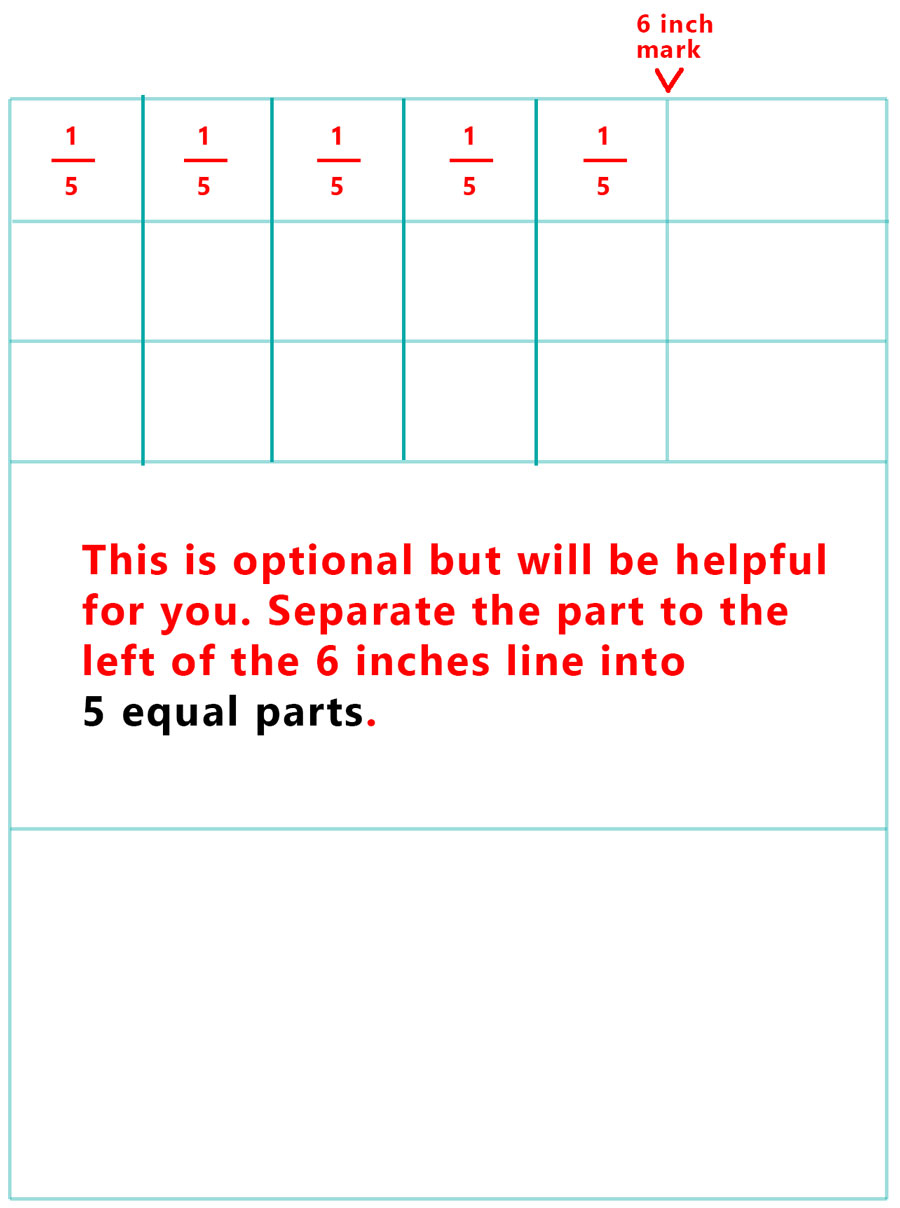
This is optional merely will be helpful for you. Split up the office to the left of the vi inches line into v equal parts.
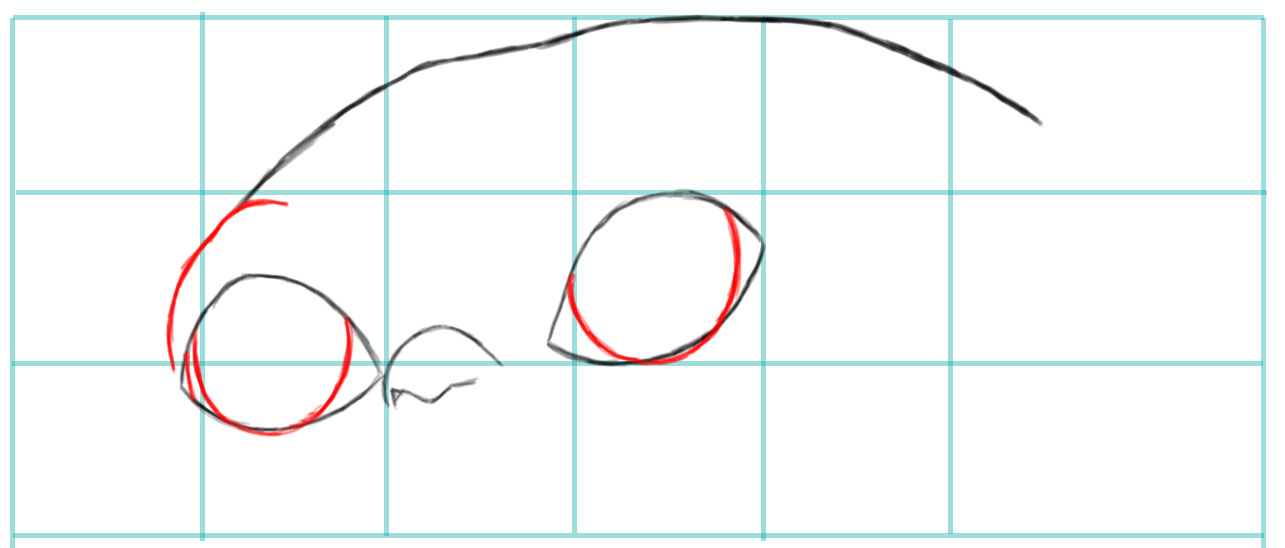
(STEP 04)
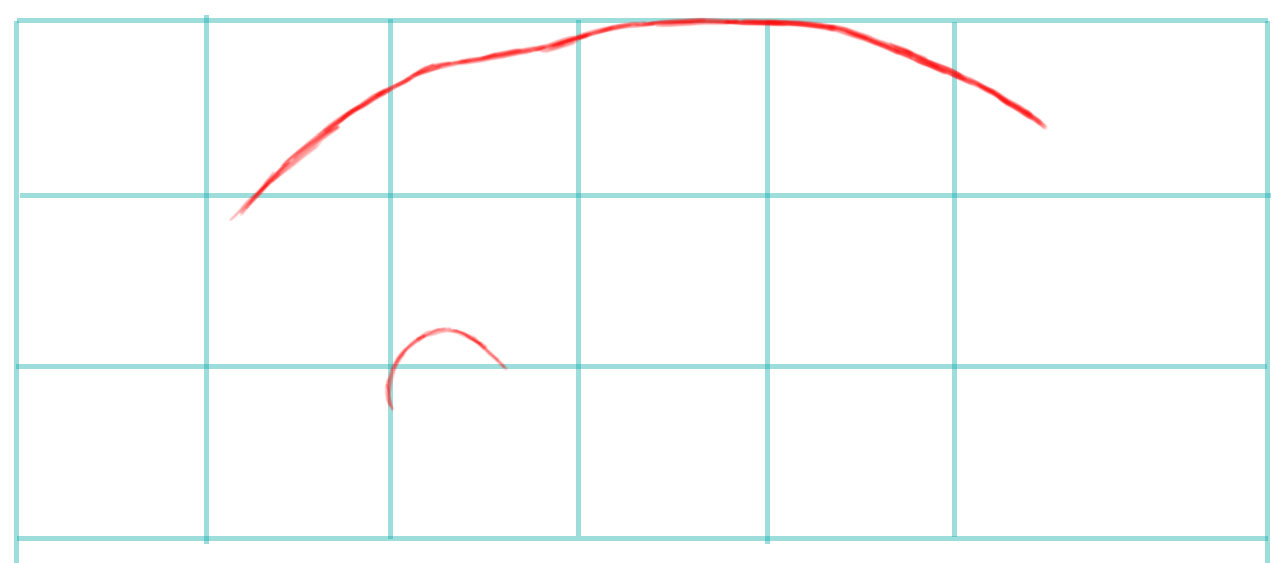
Now allow'southward get-go drawing his caput. This is where the guidelines volition help you. Besides, showtime drawing his nose.
(Stride 05)
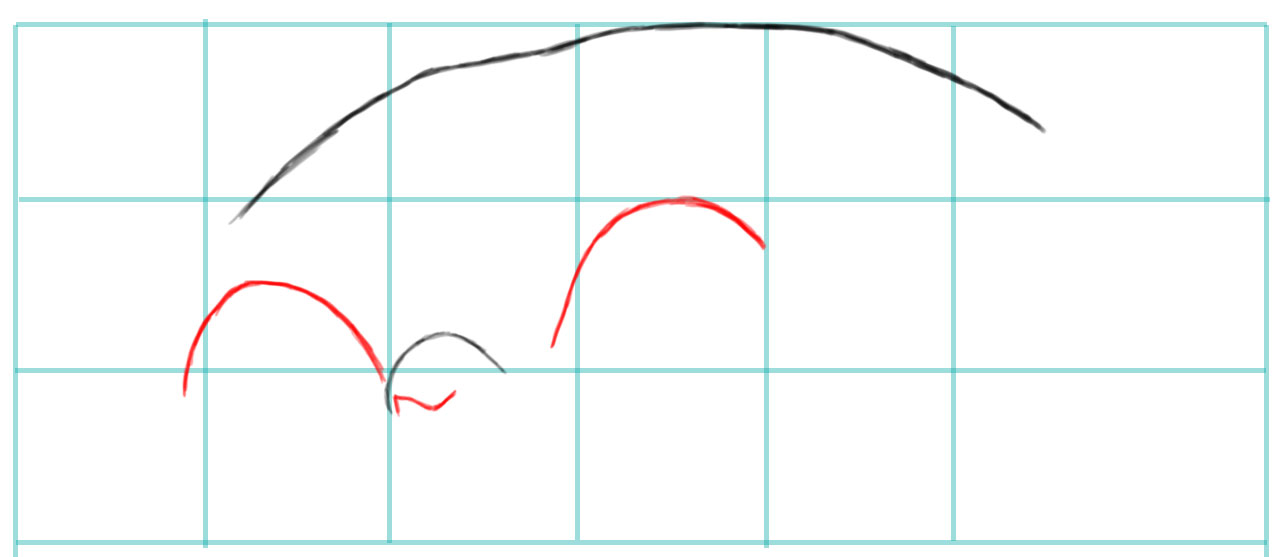
Describe a sideways #two shape in the nose. Describe a curved line for each centre.
(STEP 06)
Draw 2 lines on the nose. Draw a curved line for the bottom of each center.
(STEP 07)
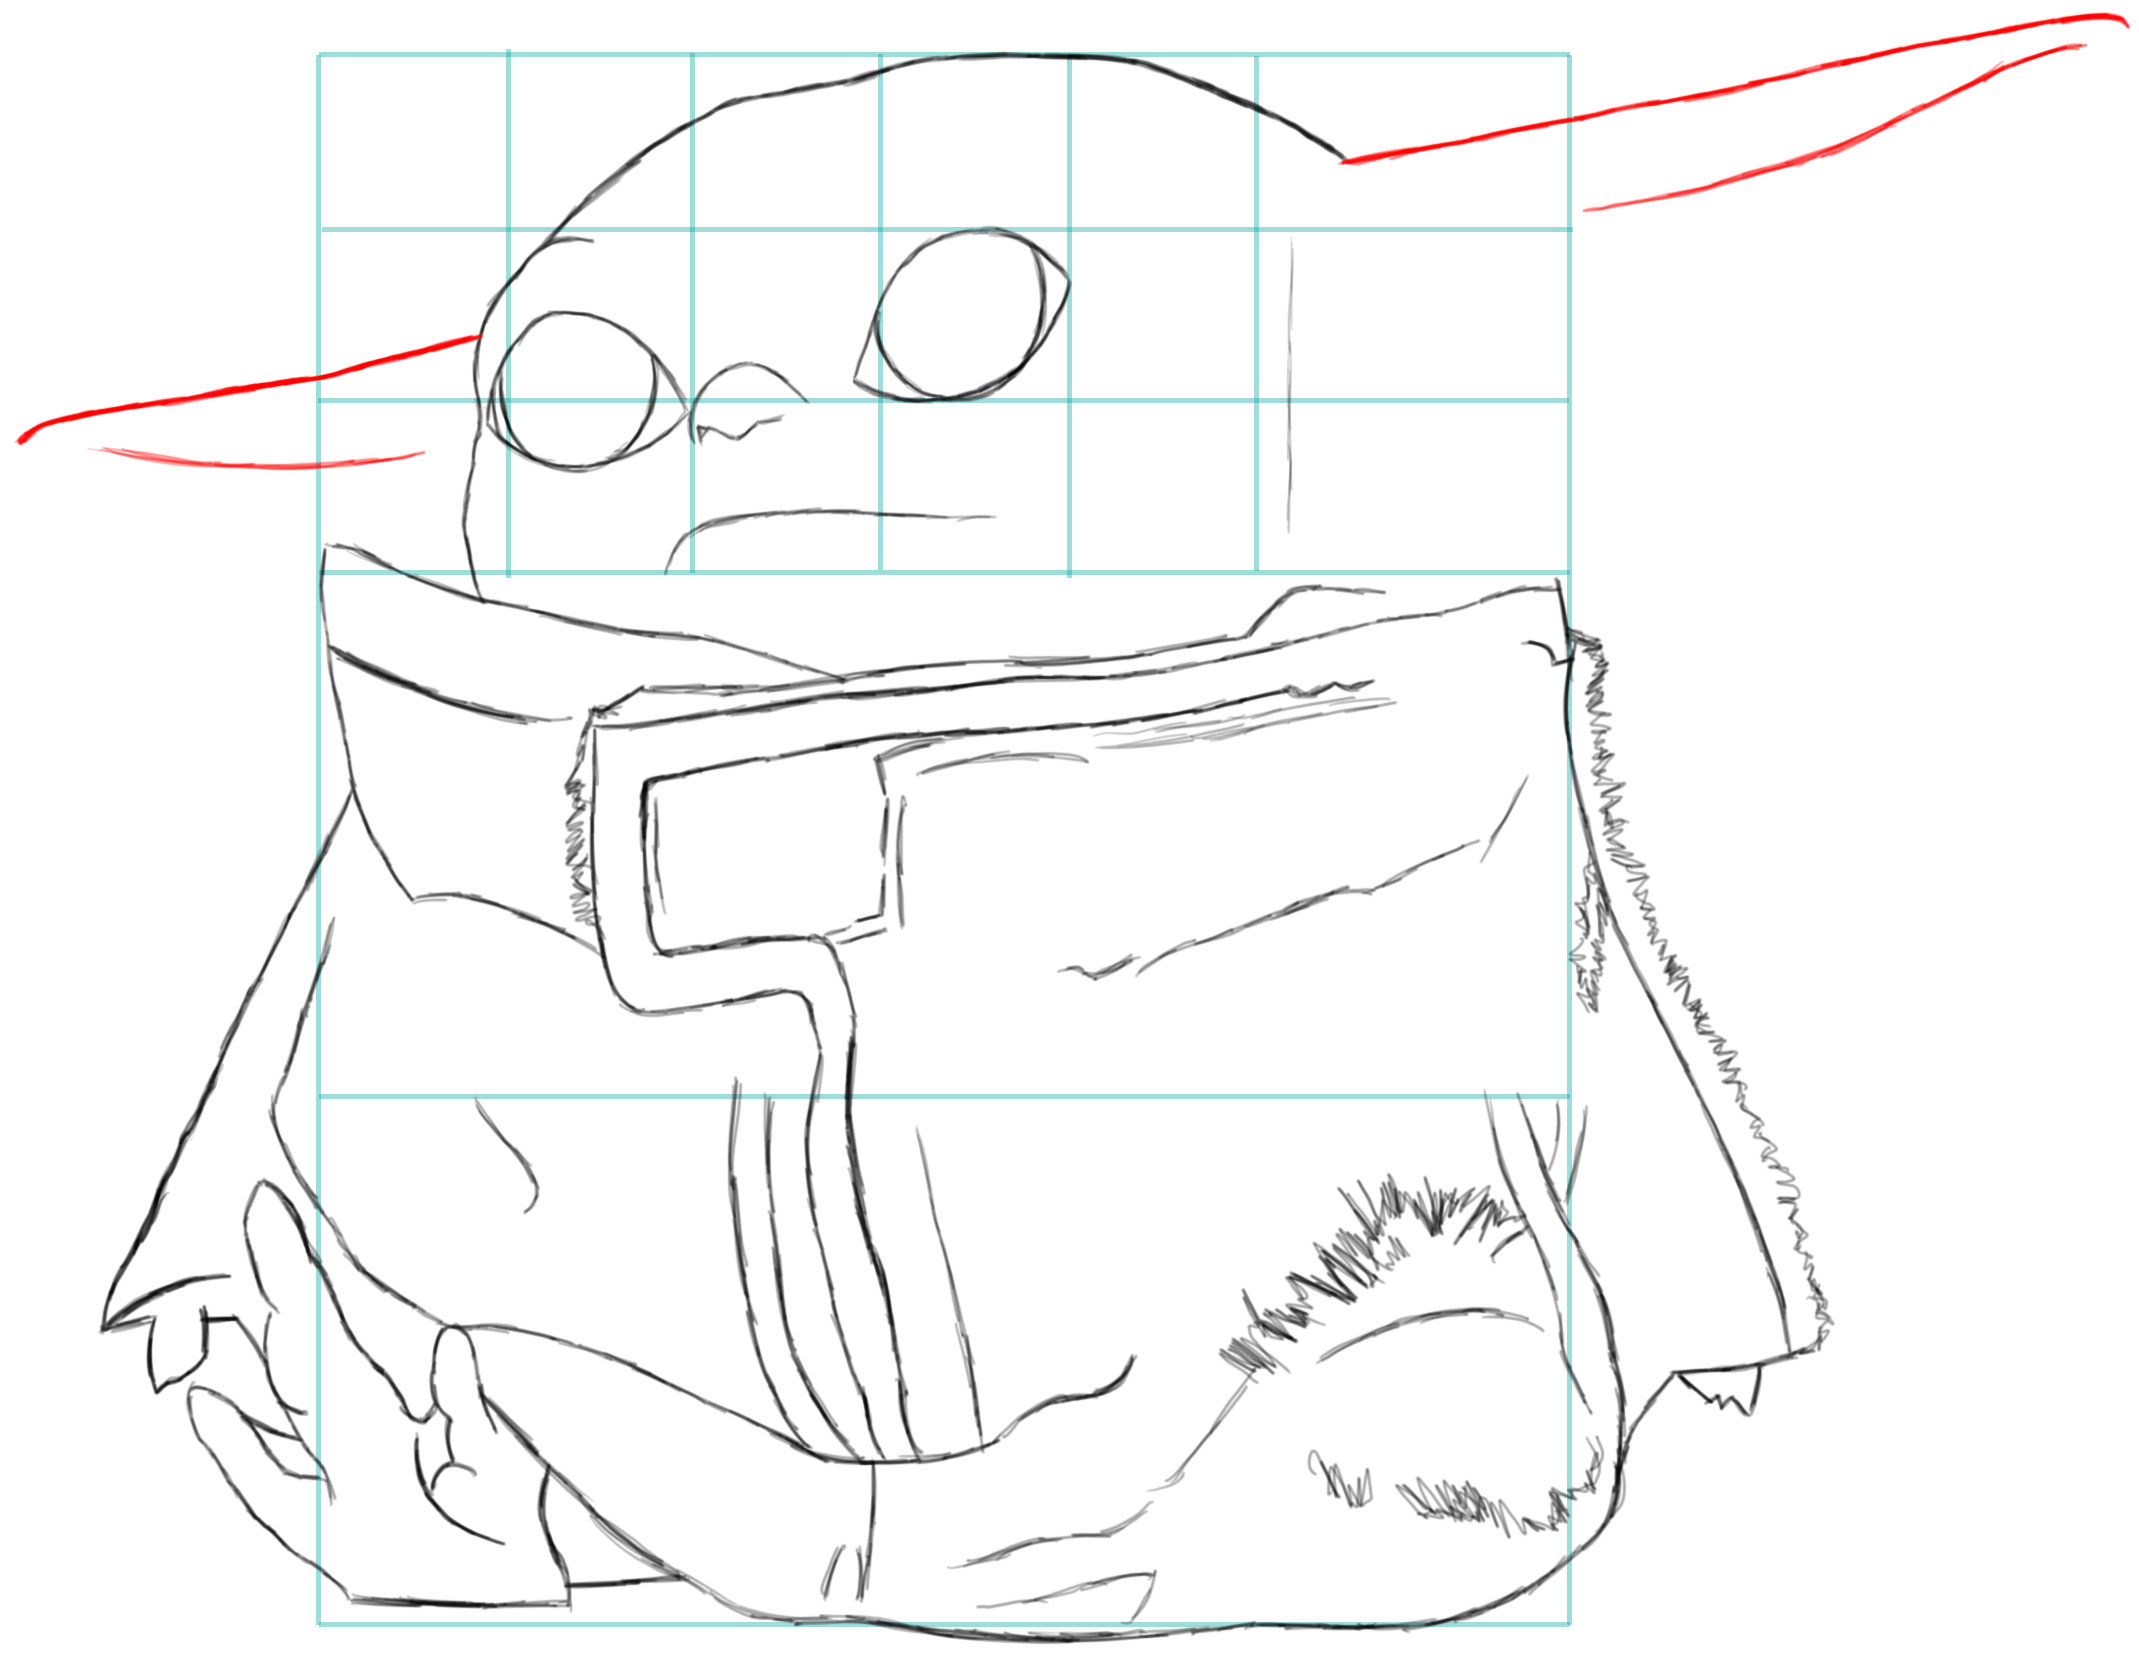
Describe a curved line to the left and above the left eye. Draw a half-circle in each eye.
(Pace 08)
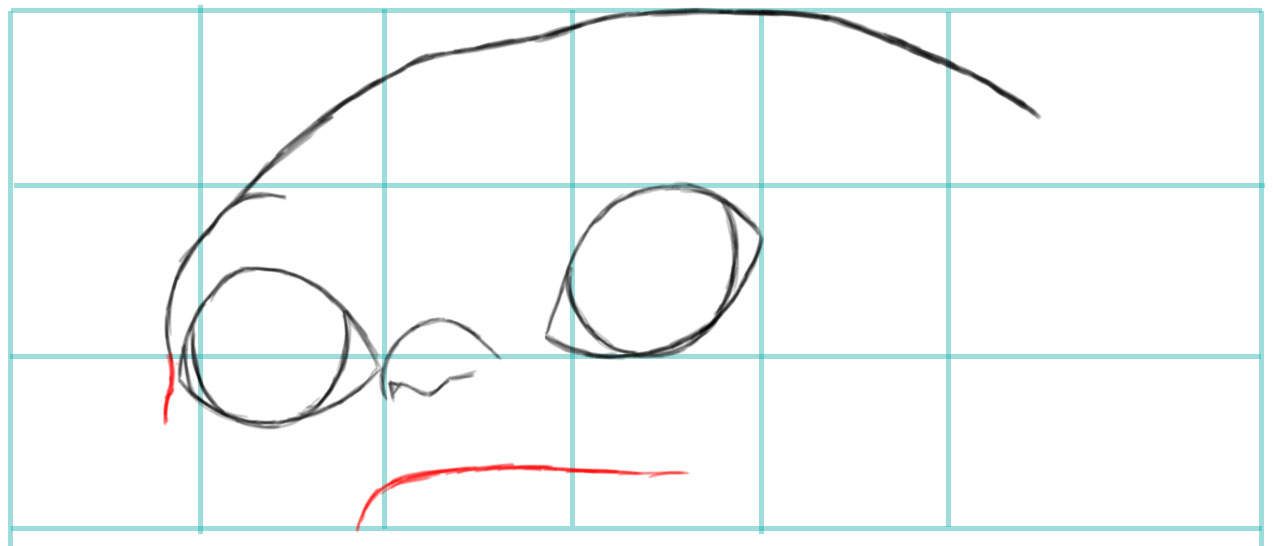
Draw a wavy line on the left side of his face. Draw a sideways "J" shape for his rima oris.
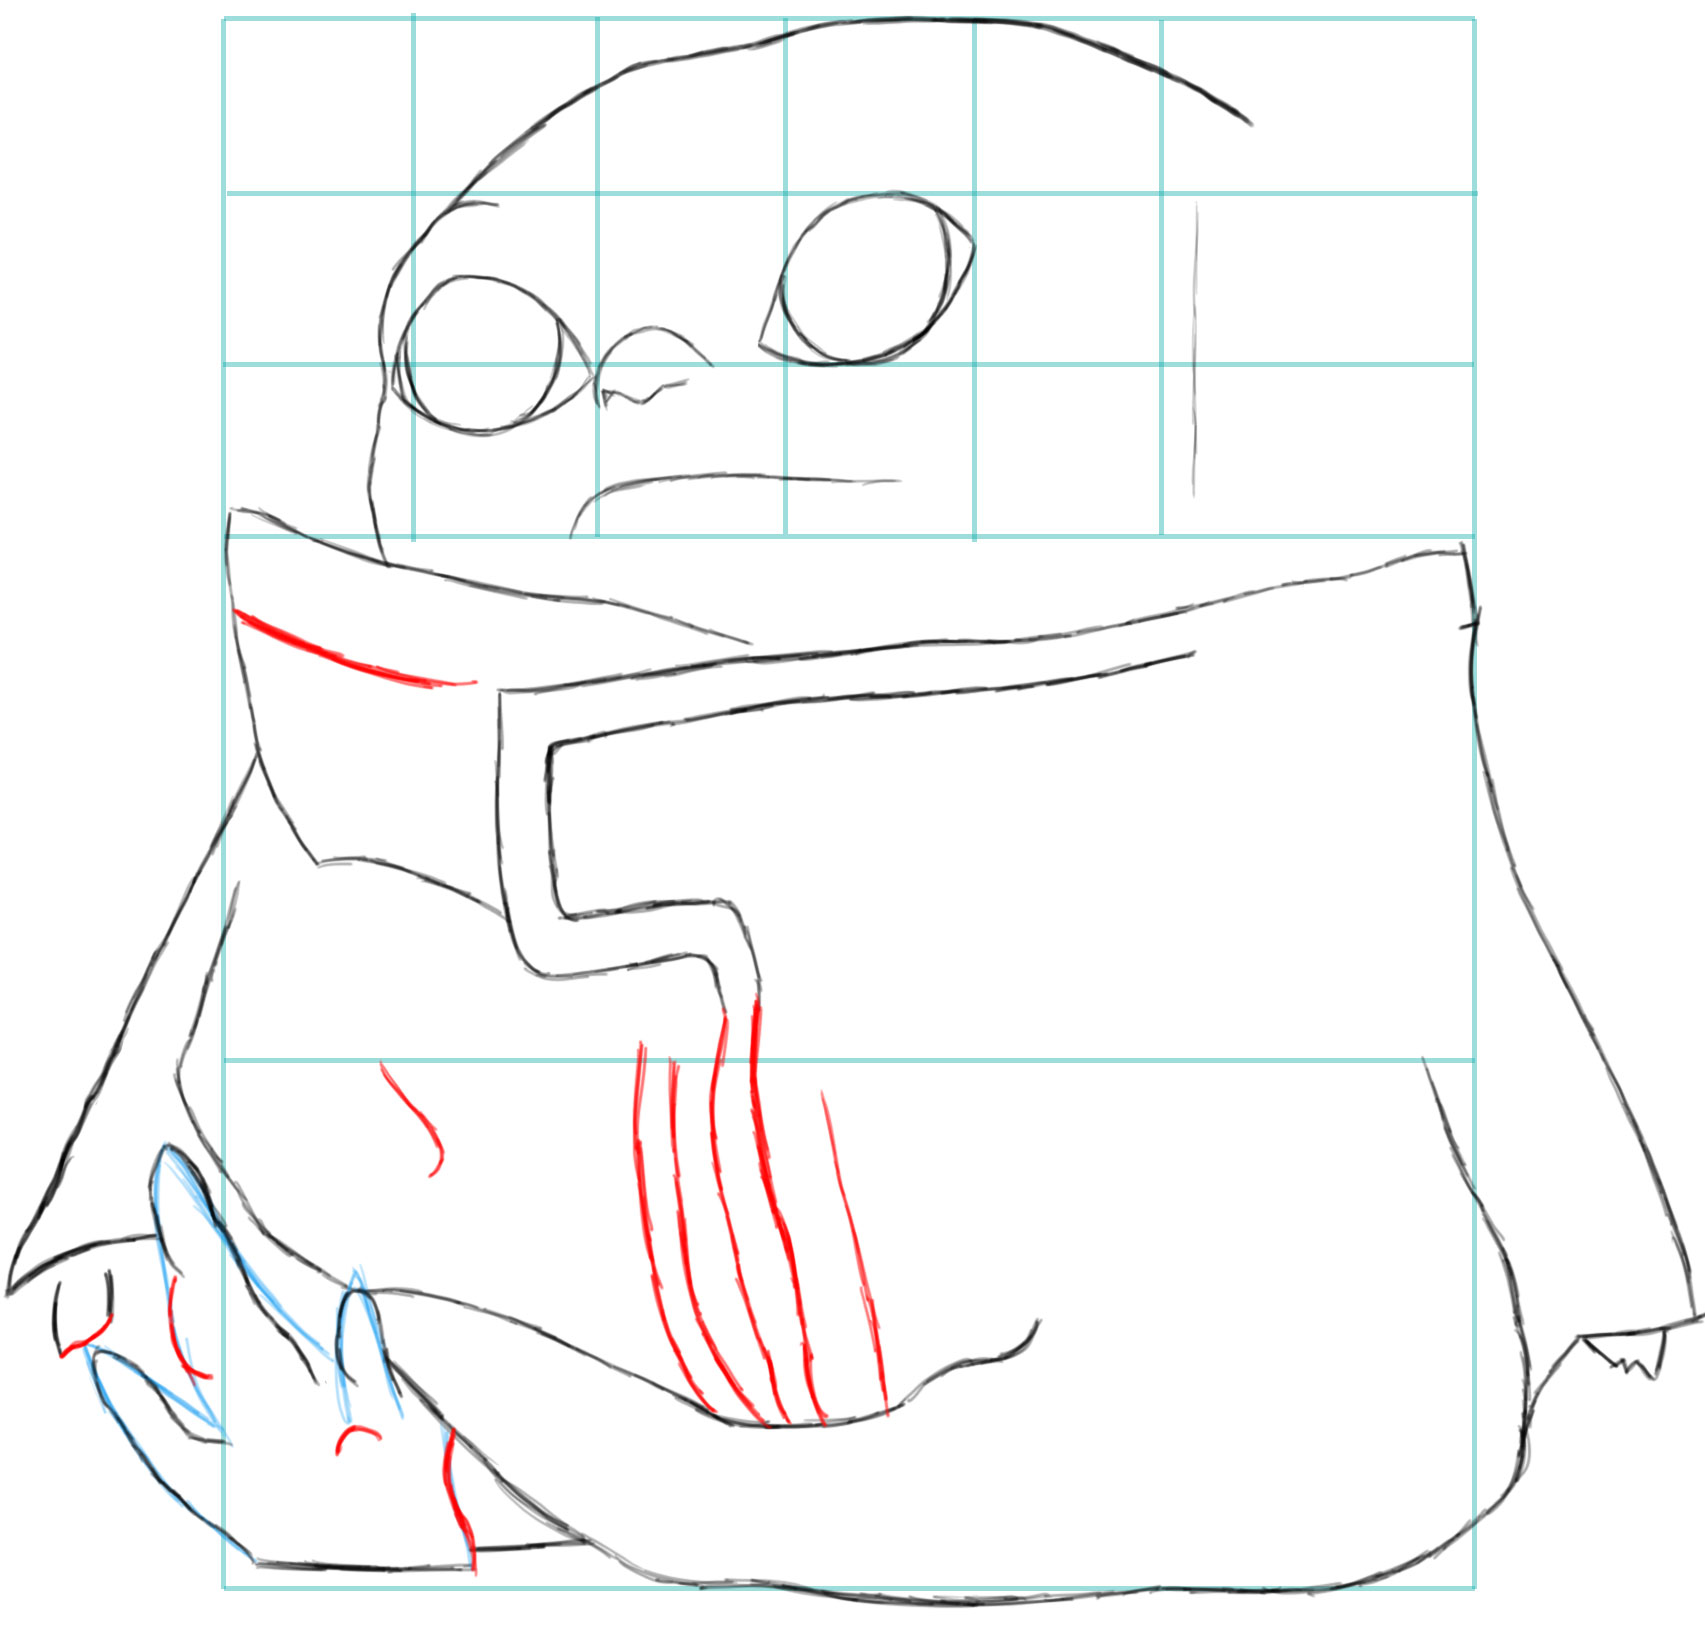
(STEP 09)

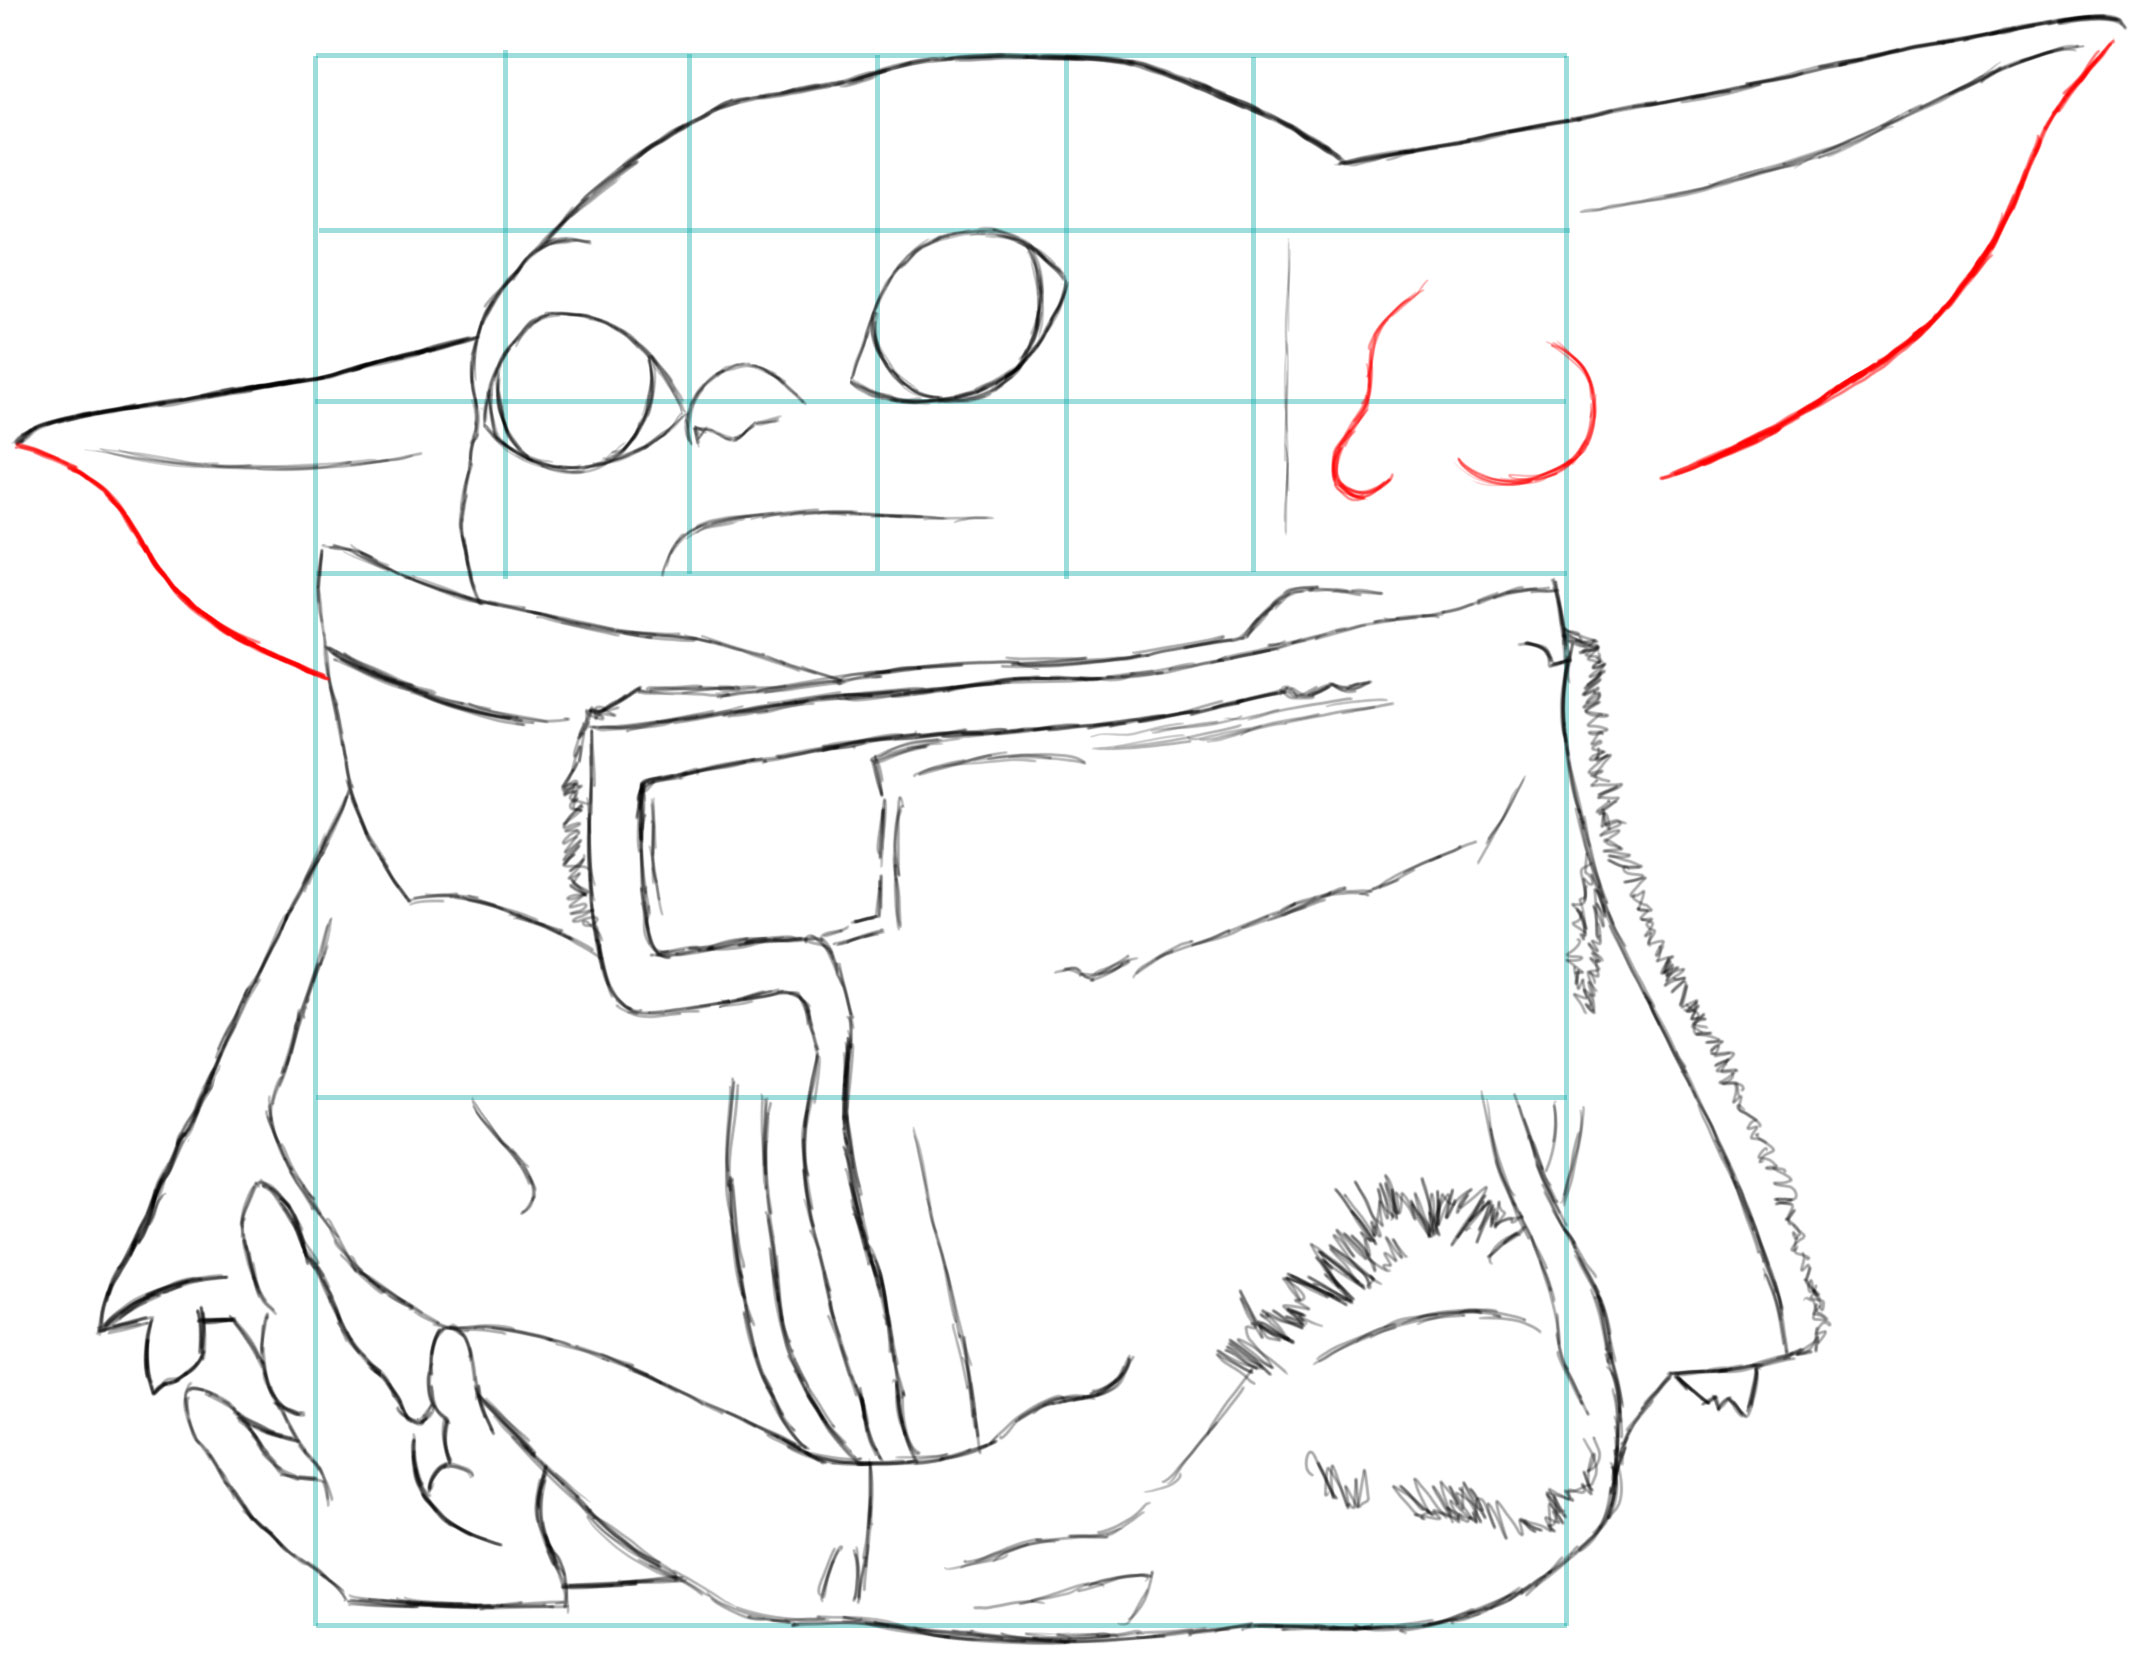
Depict his cheek and the left side of his right ear. Start drawing his coat/sack.
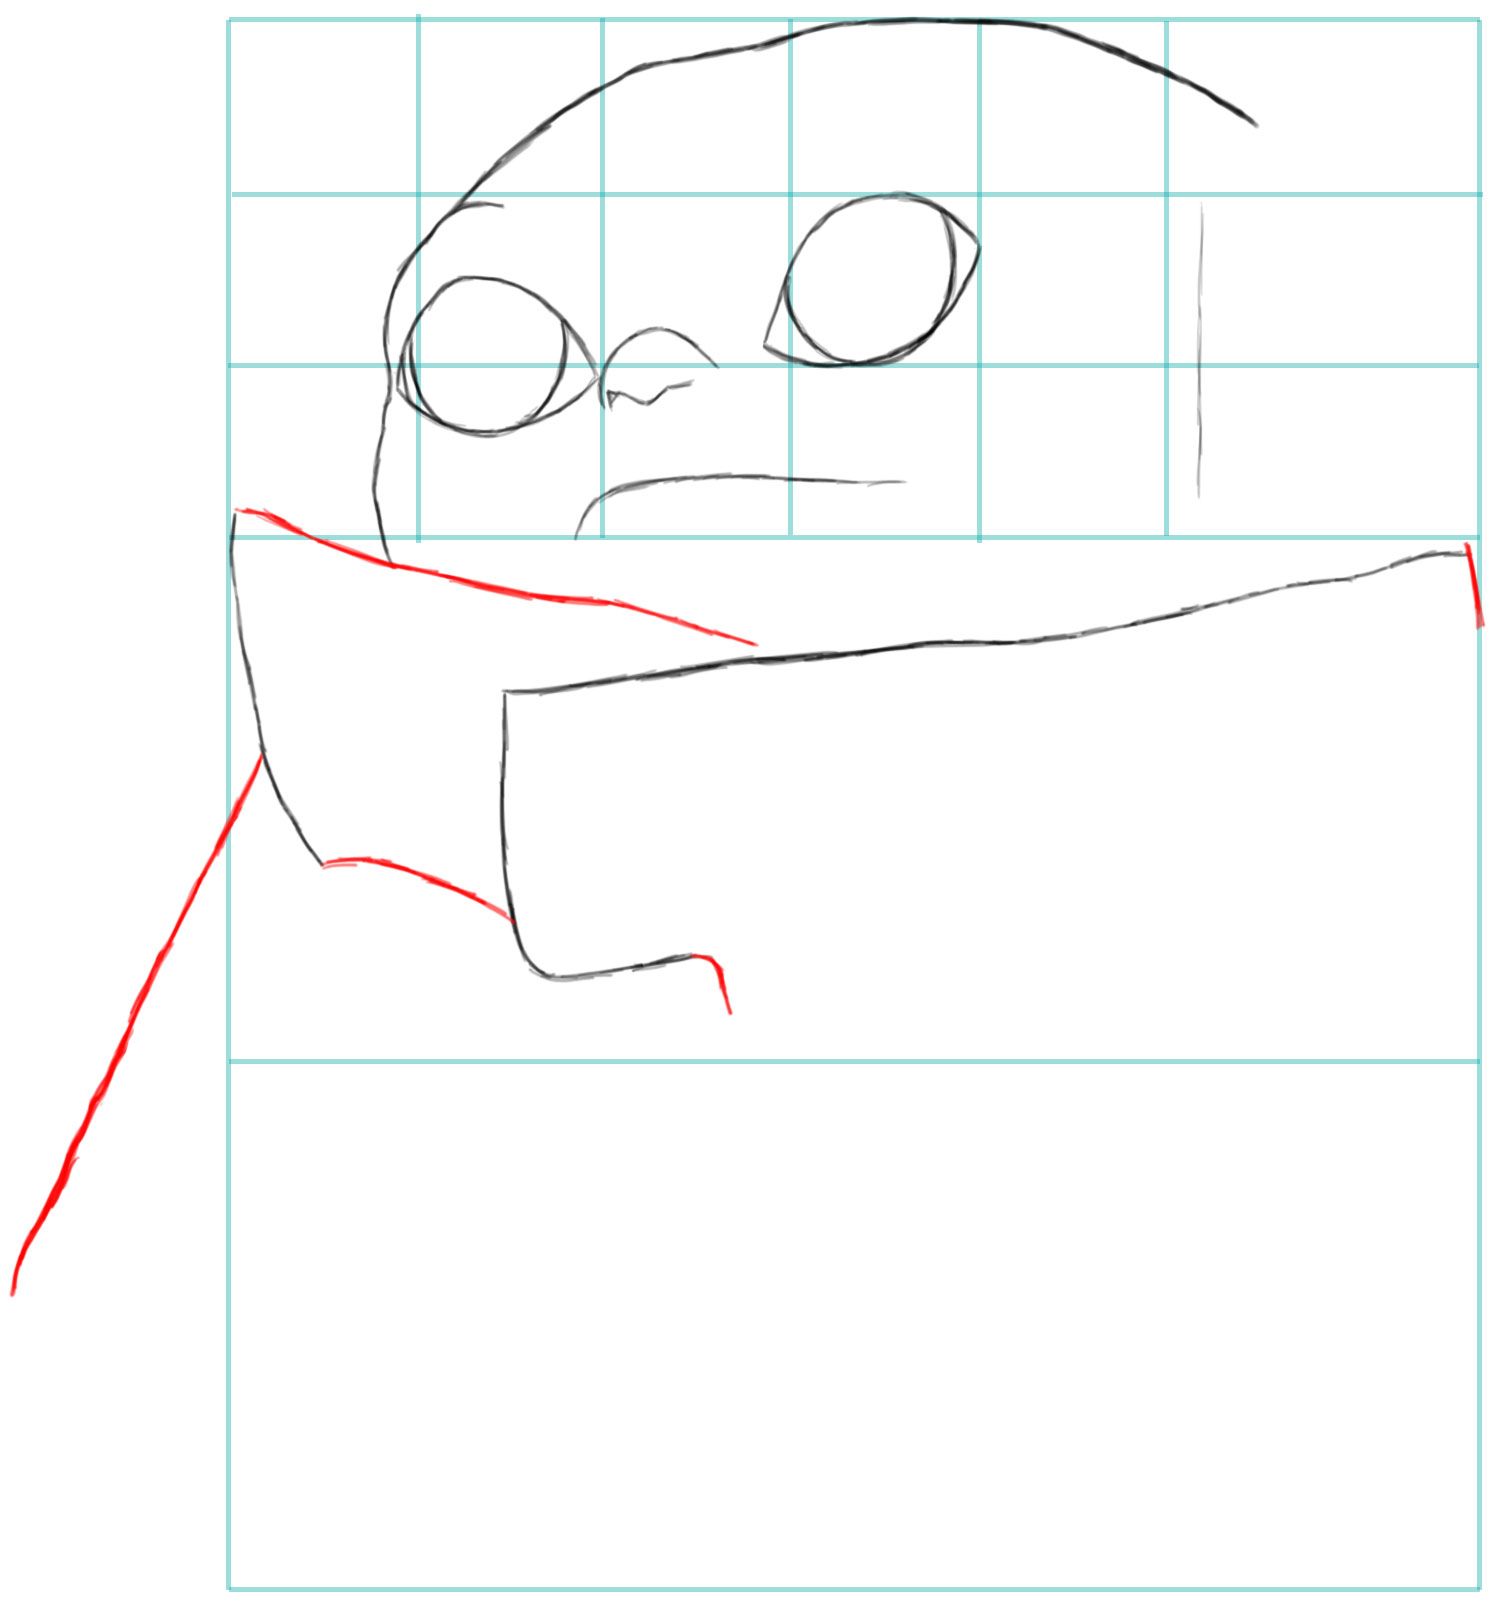
(STEP 10)
Draw more of his coat/sack.
(Footstep 11)
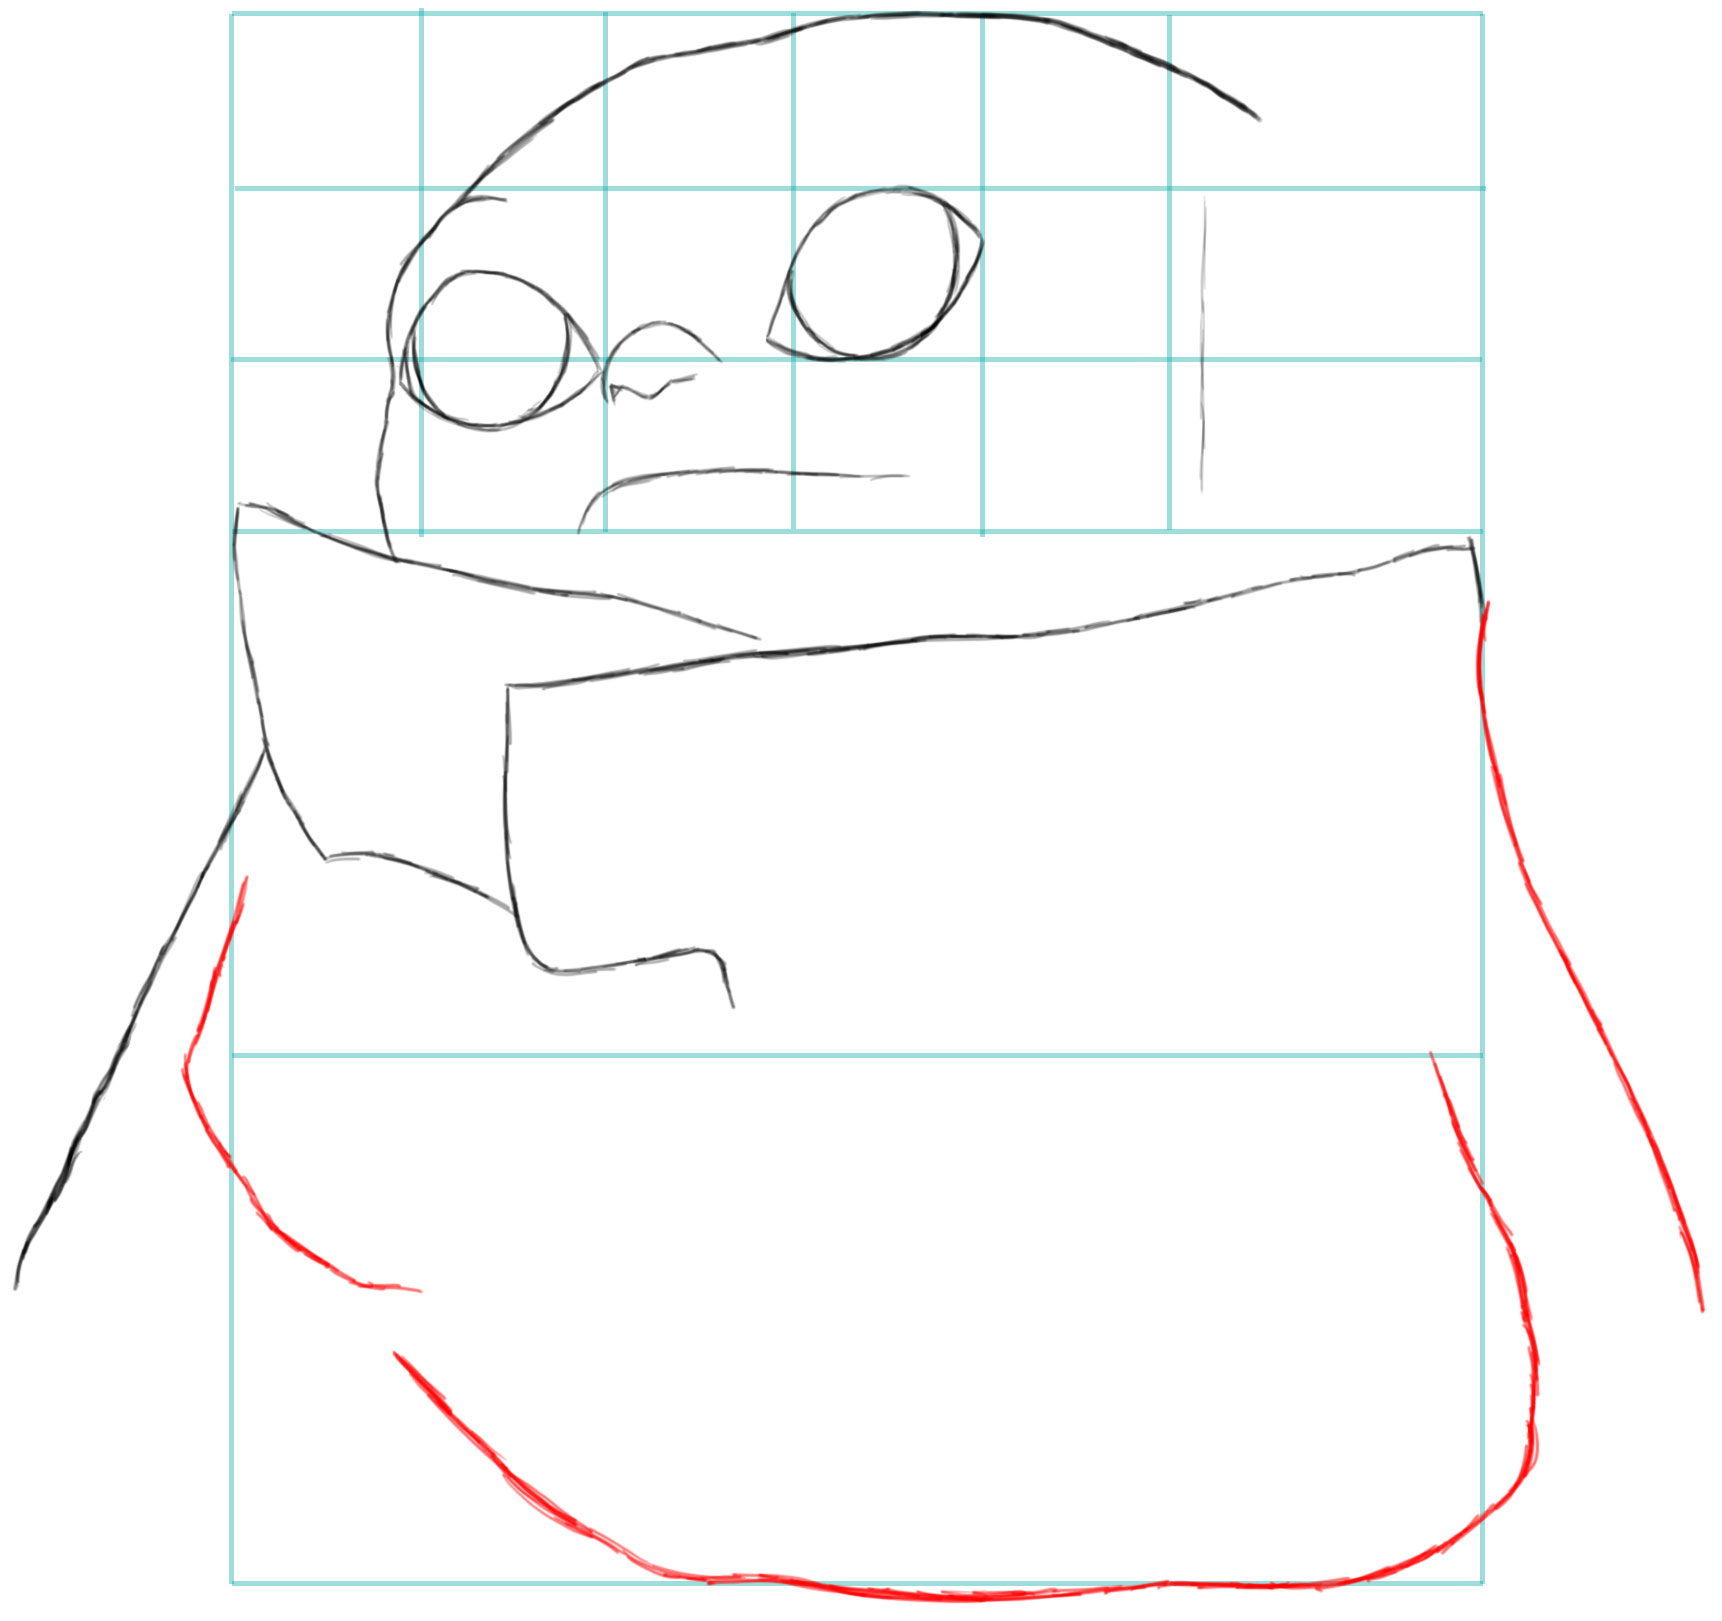
Draw a flattened "South" bend on the right arm. Draw the rounded shape of the bottom of his sack. Draw a sideways "L" shape on
the left side.
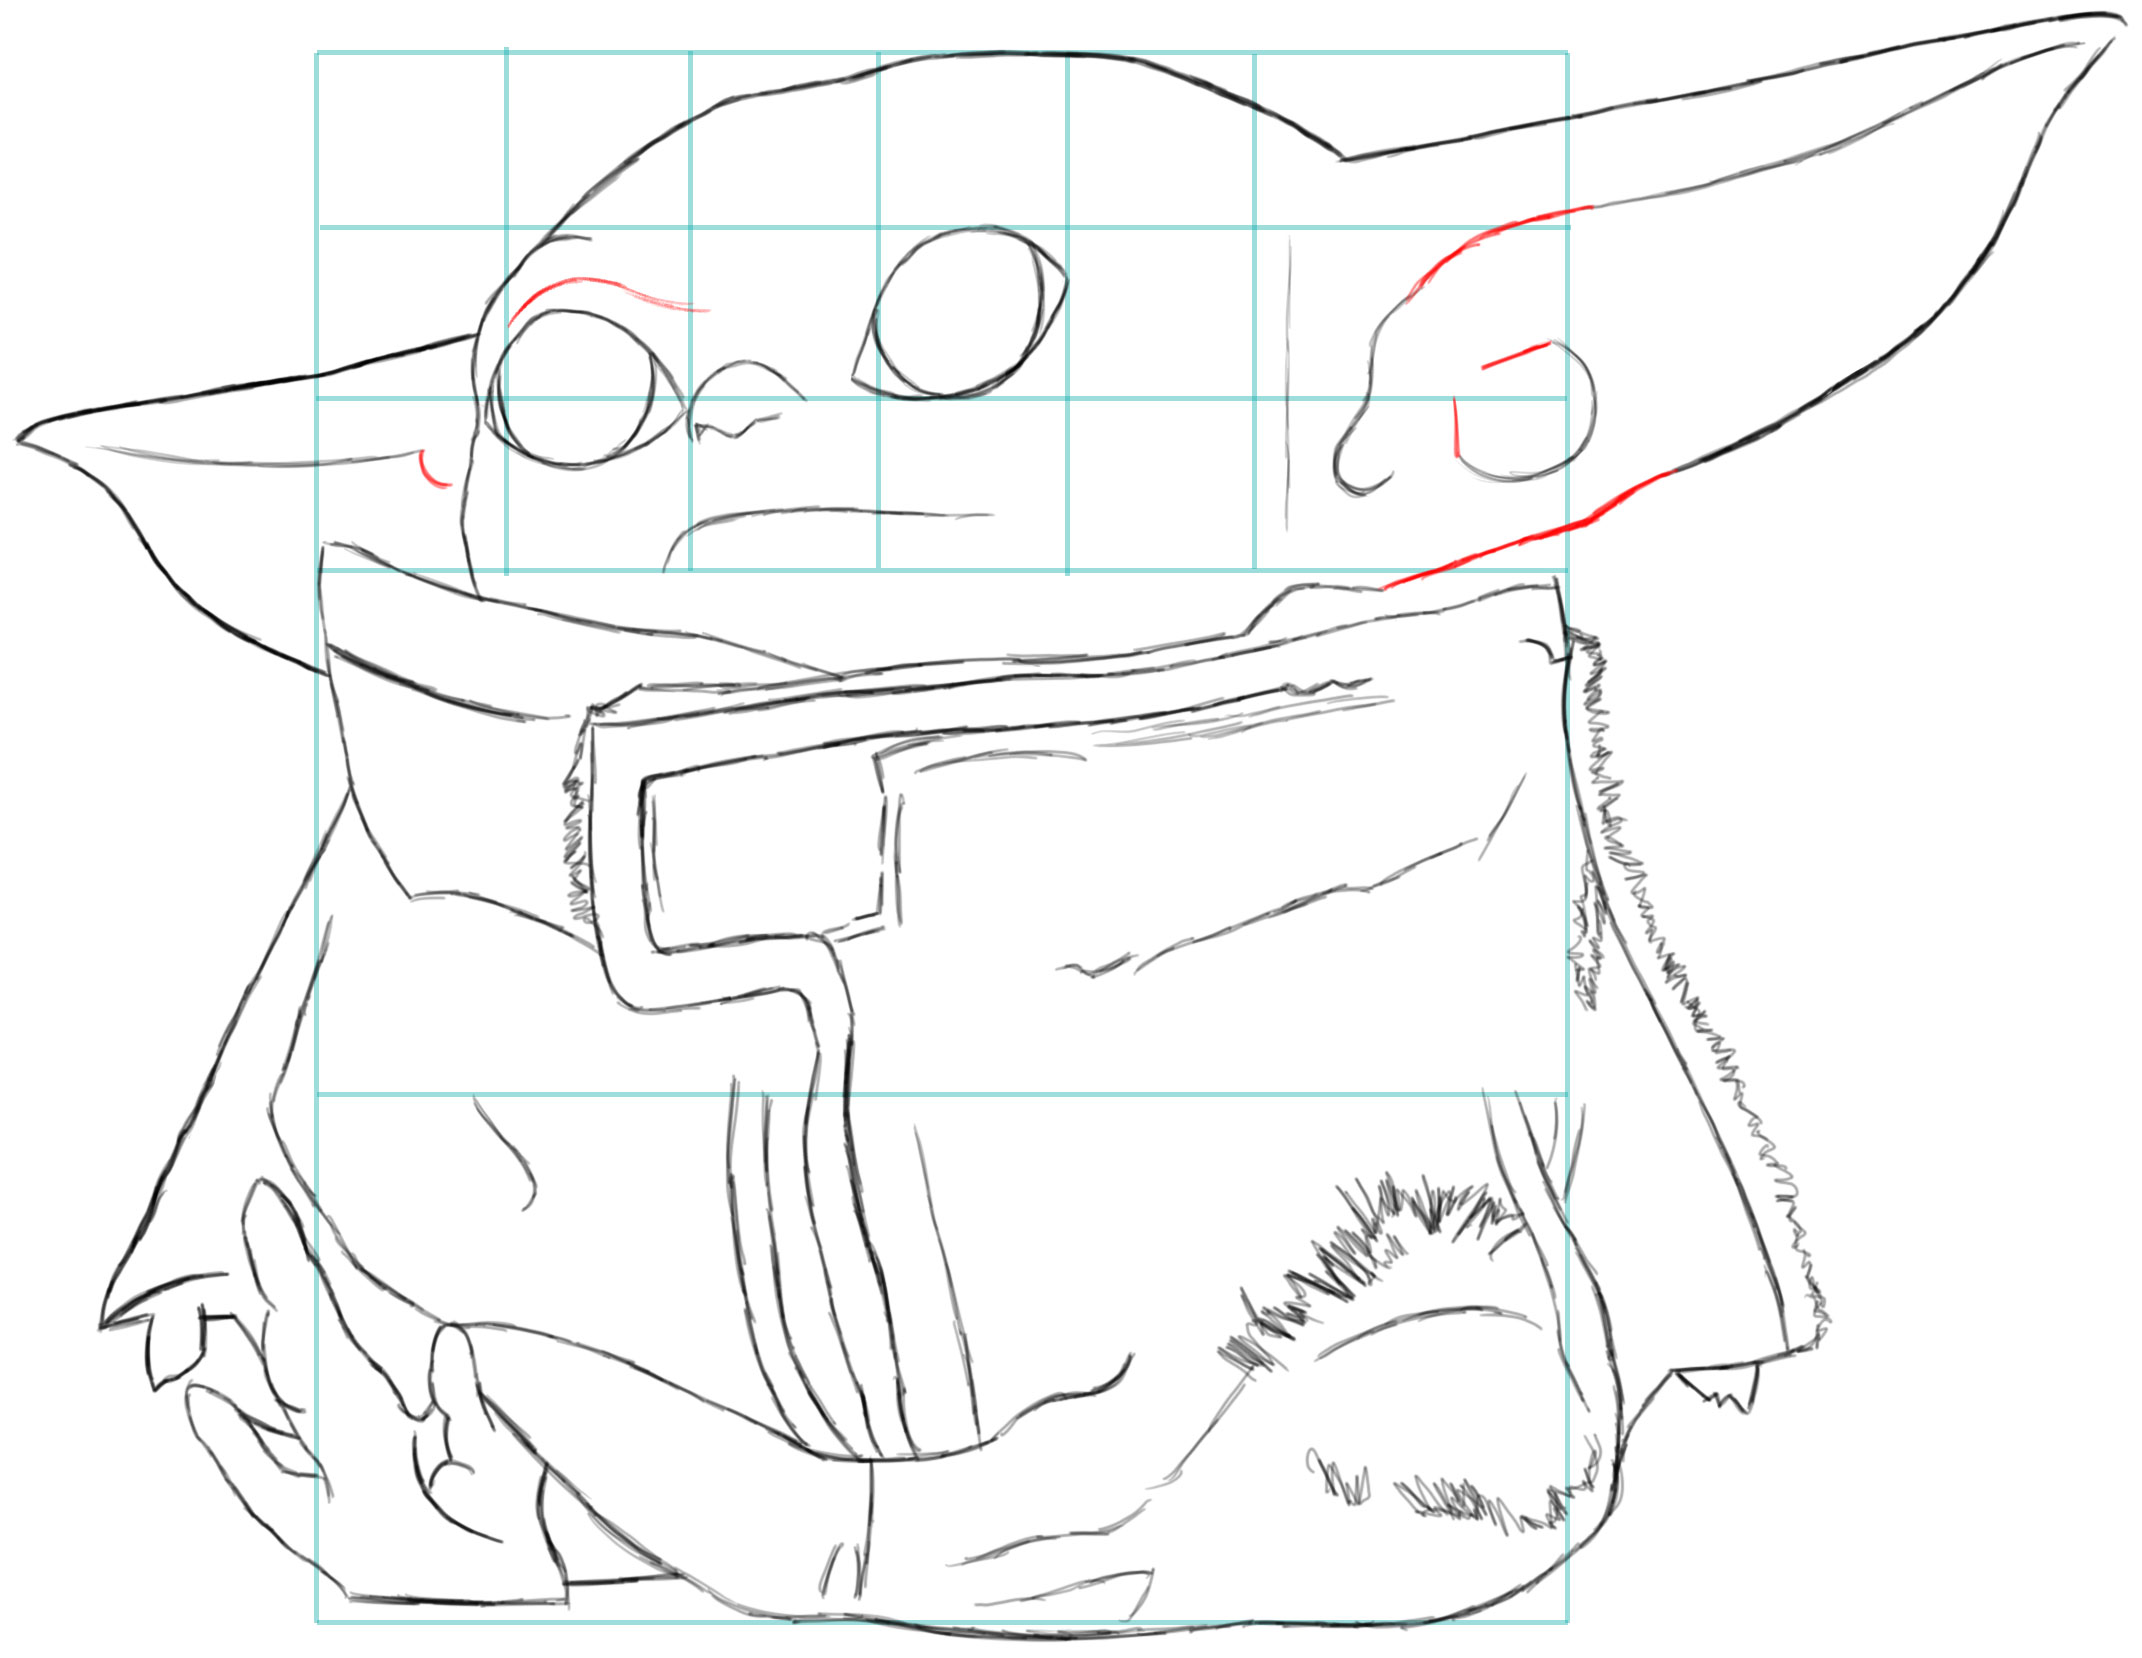
(STEP 12)
Lightly draw an "M" shape – this is a guideline that will exist erased after we draw his foot. Depict some other lines, including a astern #7 on the right arm.
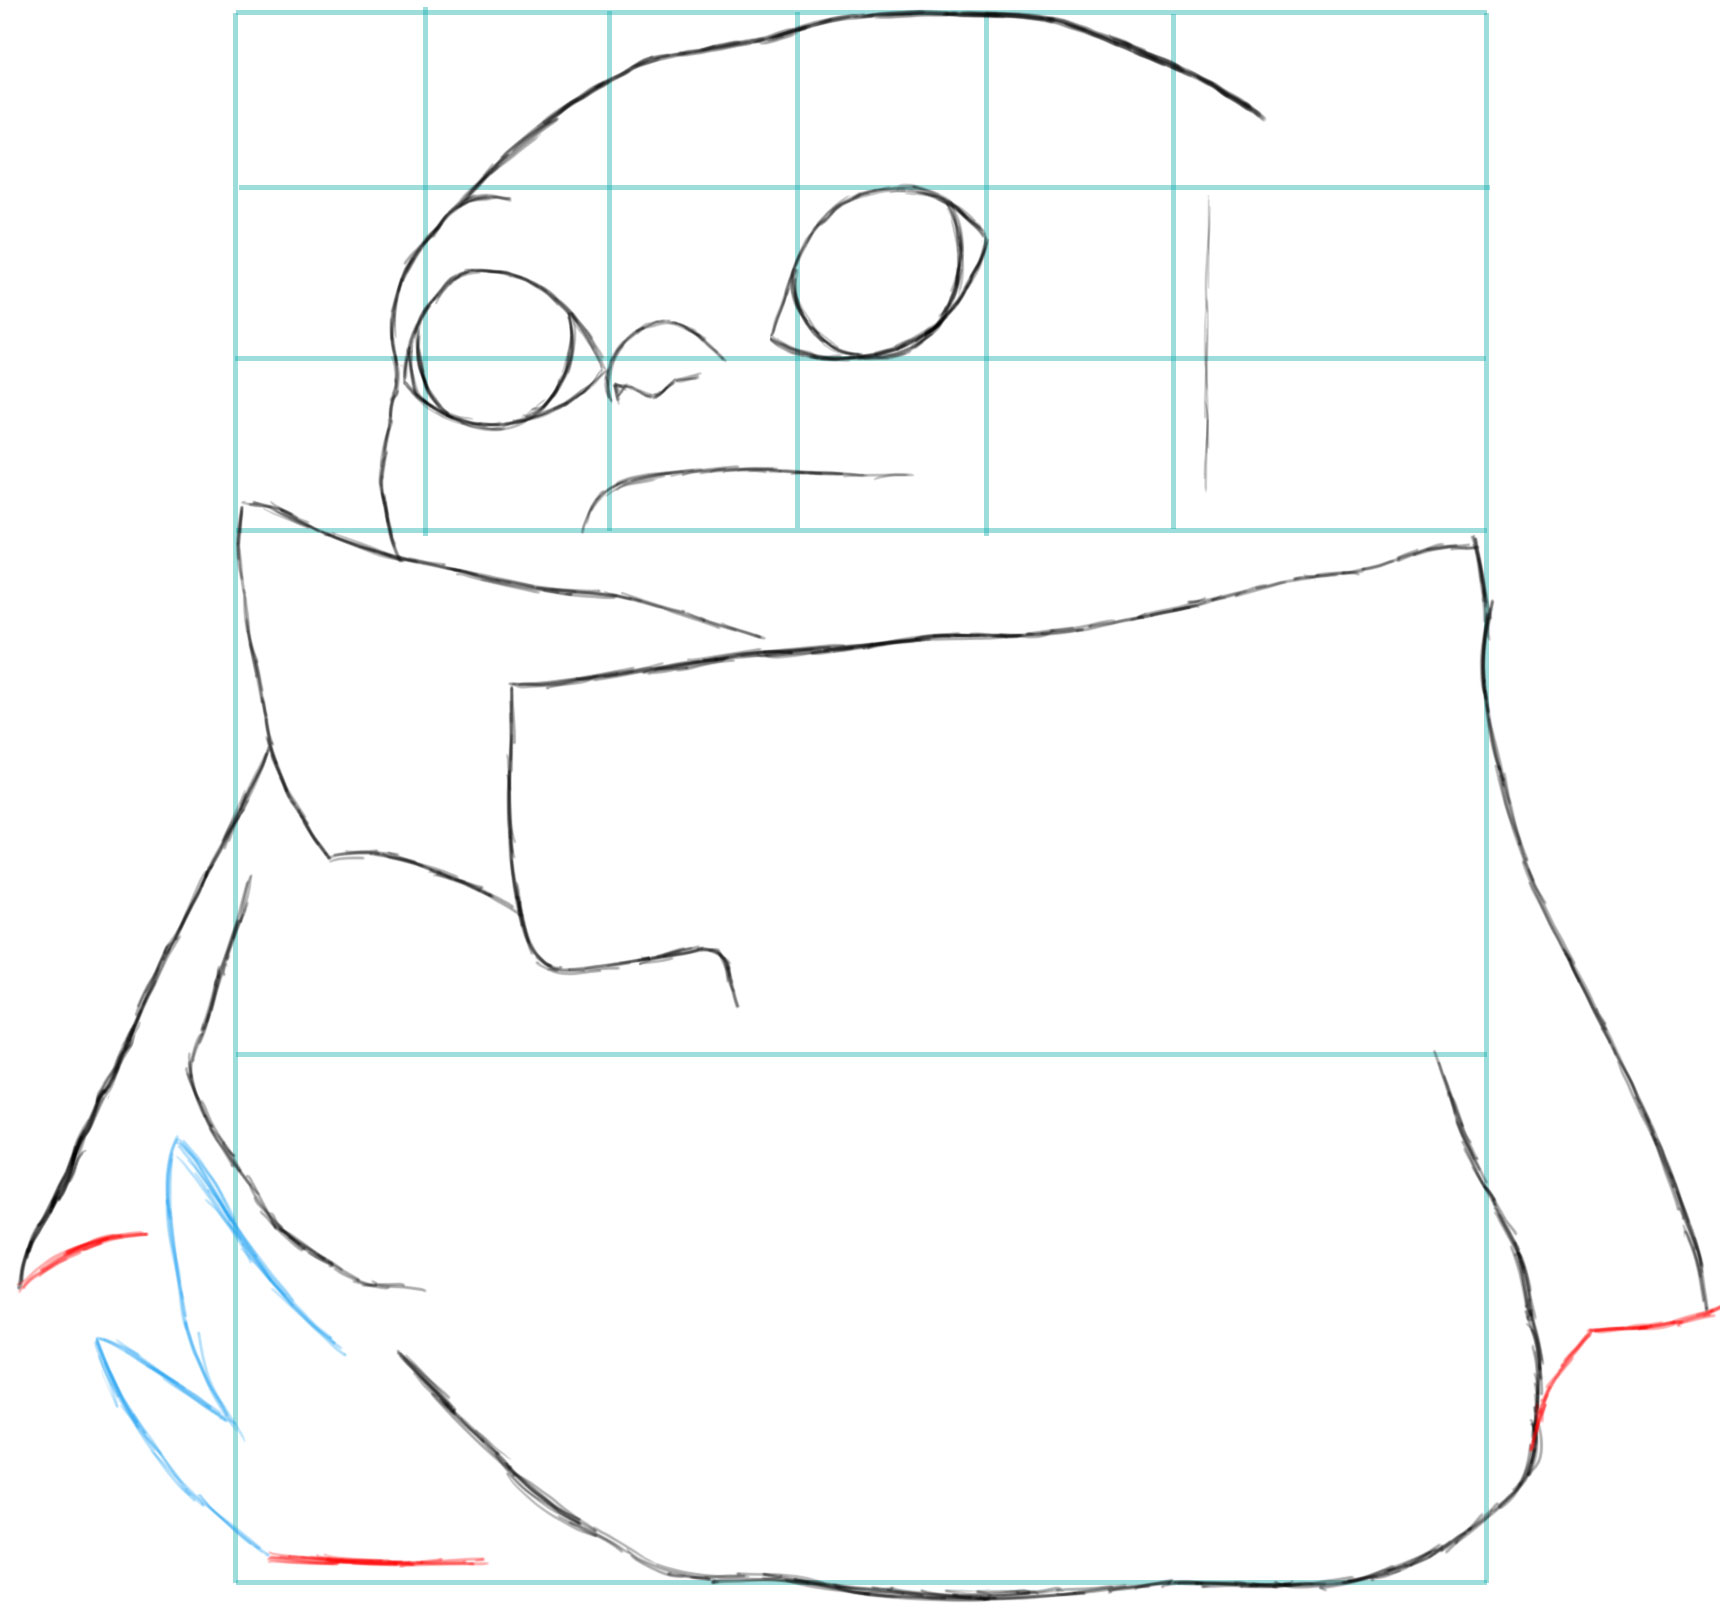
(Footstep 13)
Draw an upside-down "V" and a line guide on the human foot. Add an inner outline to the peak of the sack. Draw a curvy line at lesser of the sack. Draw 2 slanted lines on the right manus.
(Footstep fourteen)
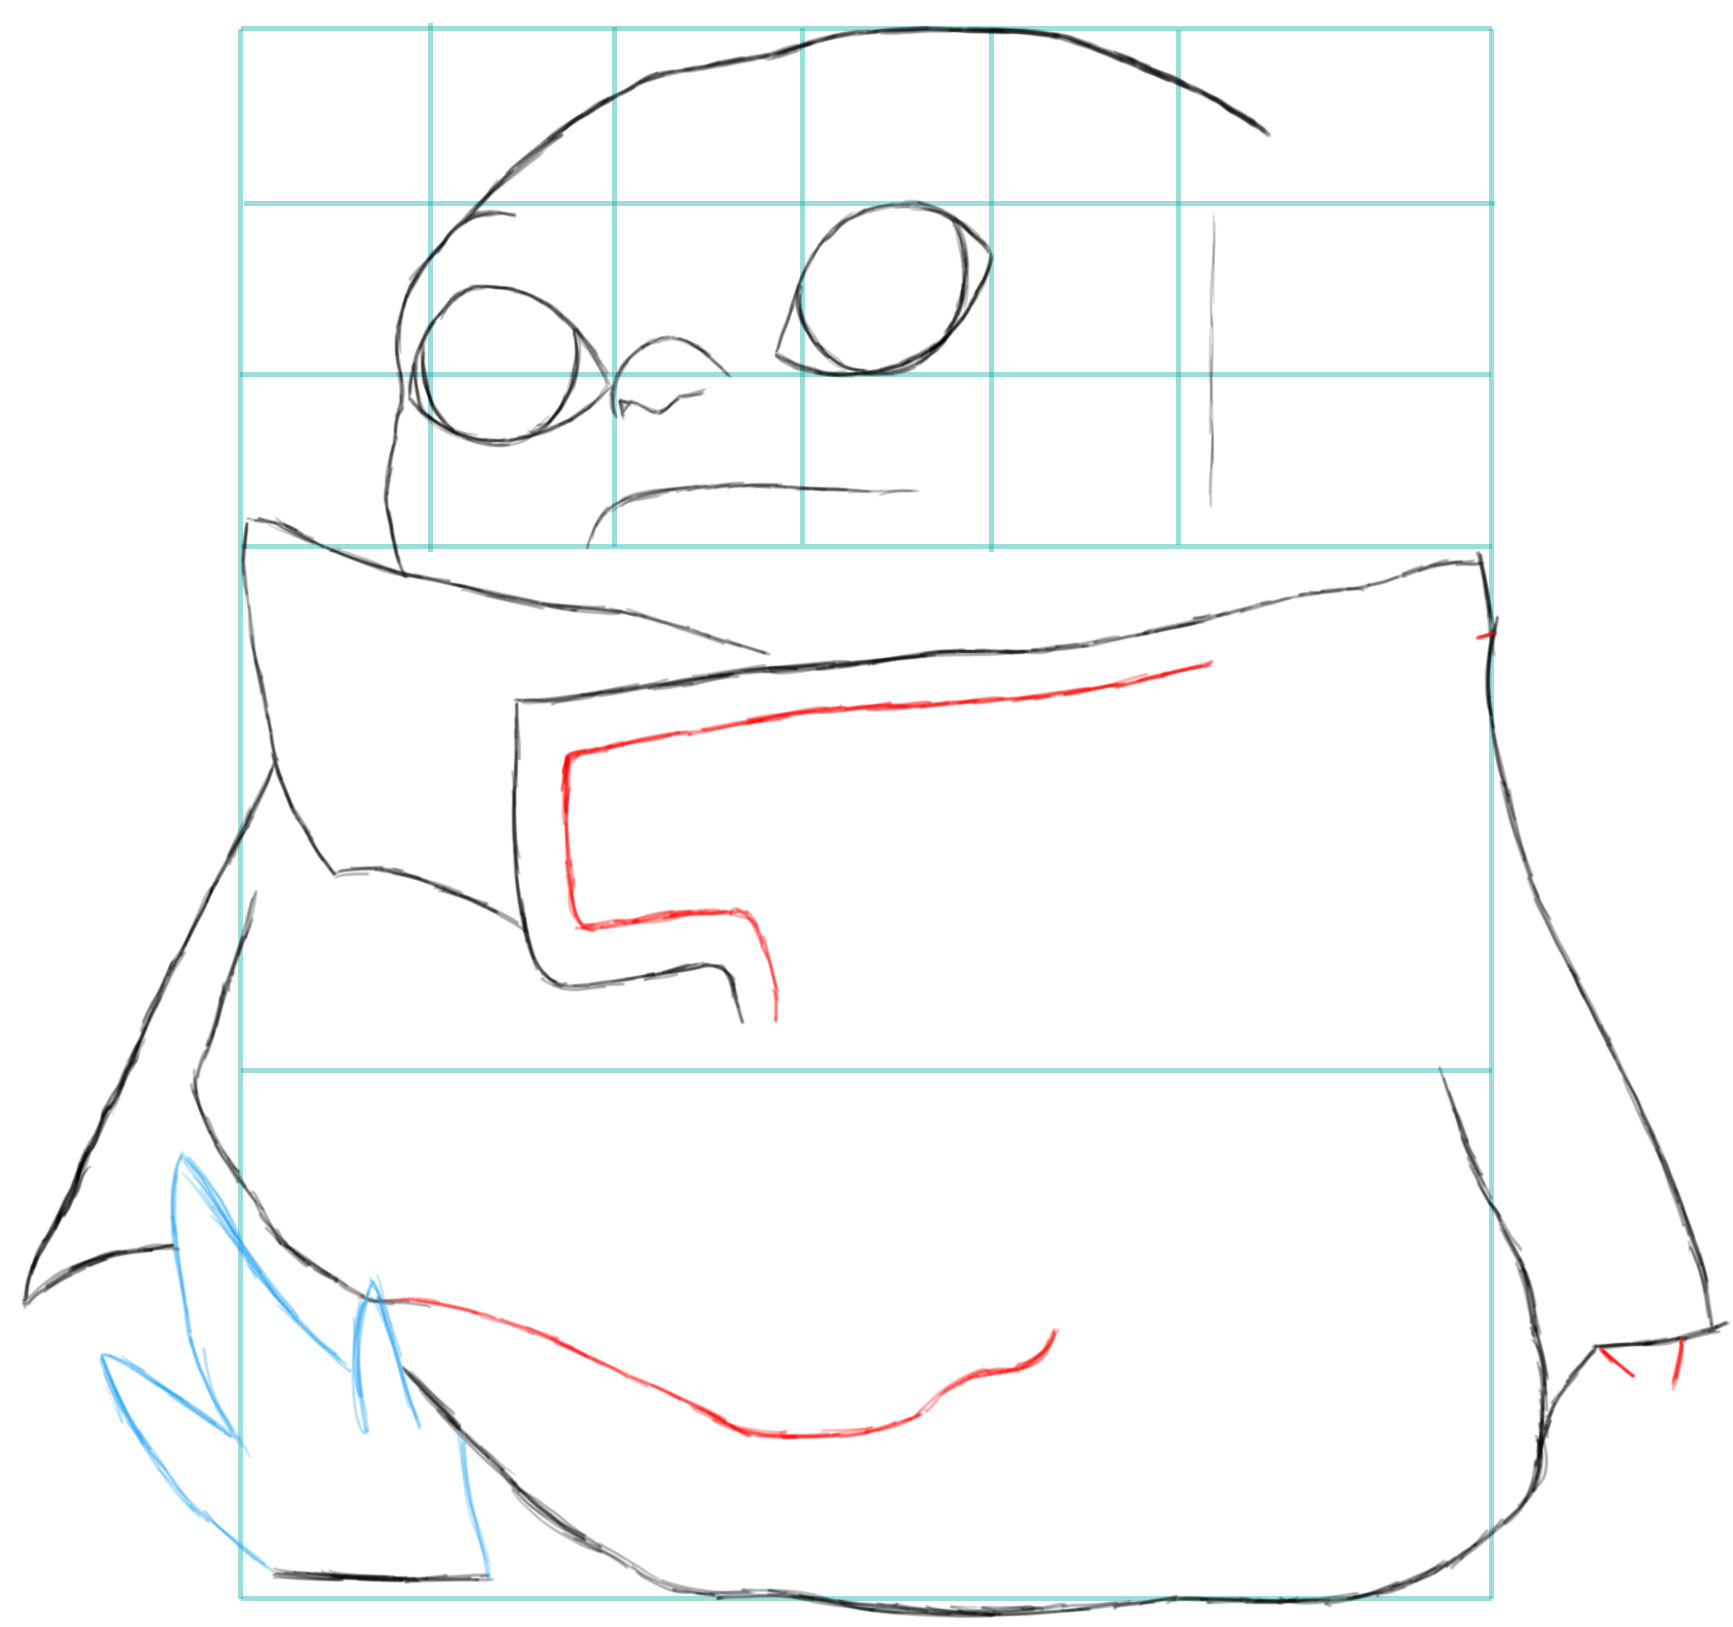
Use the foot'south guidelines to help you describe the lines more than accurately. Add an "M" shape to the right mitt and two curved lines to the left mitt.
(Step 15)
Depict more on elevation of the foot's guidelines. Add some more details to the coat/sack.
(Stride 16)
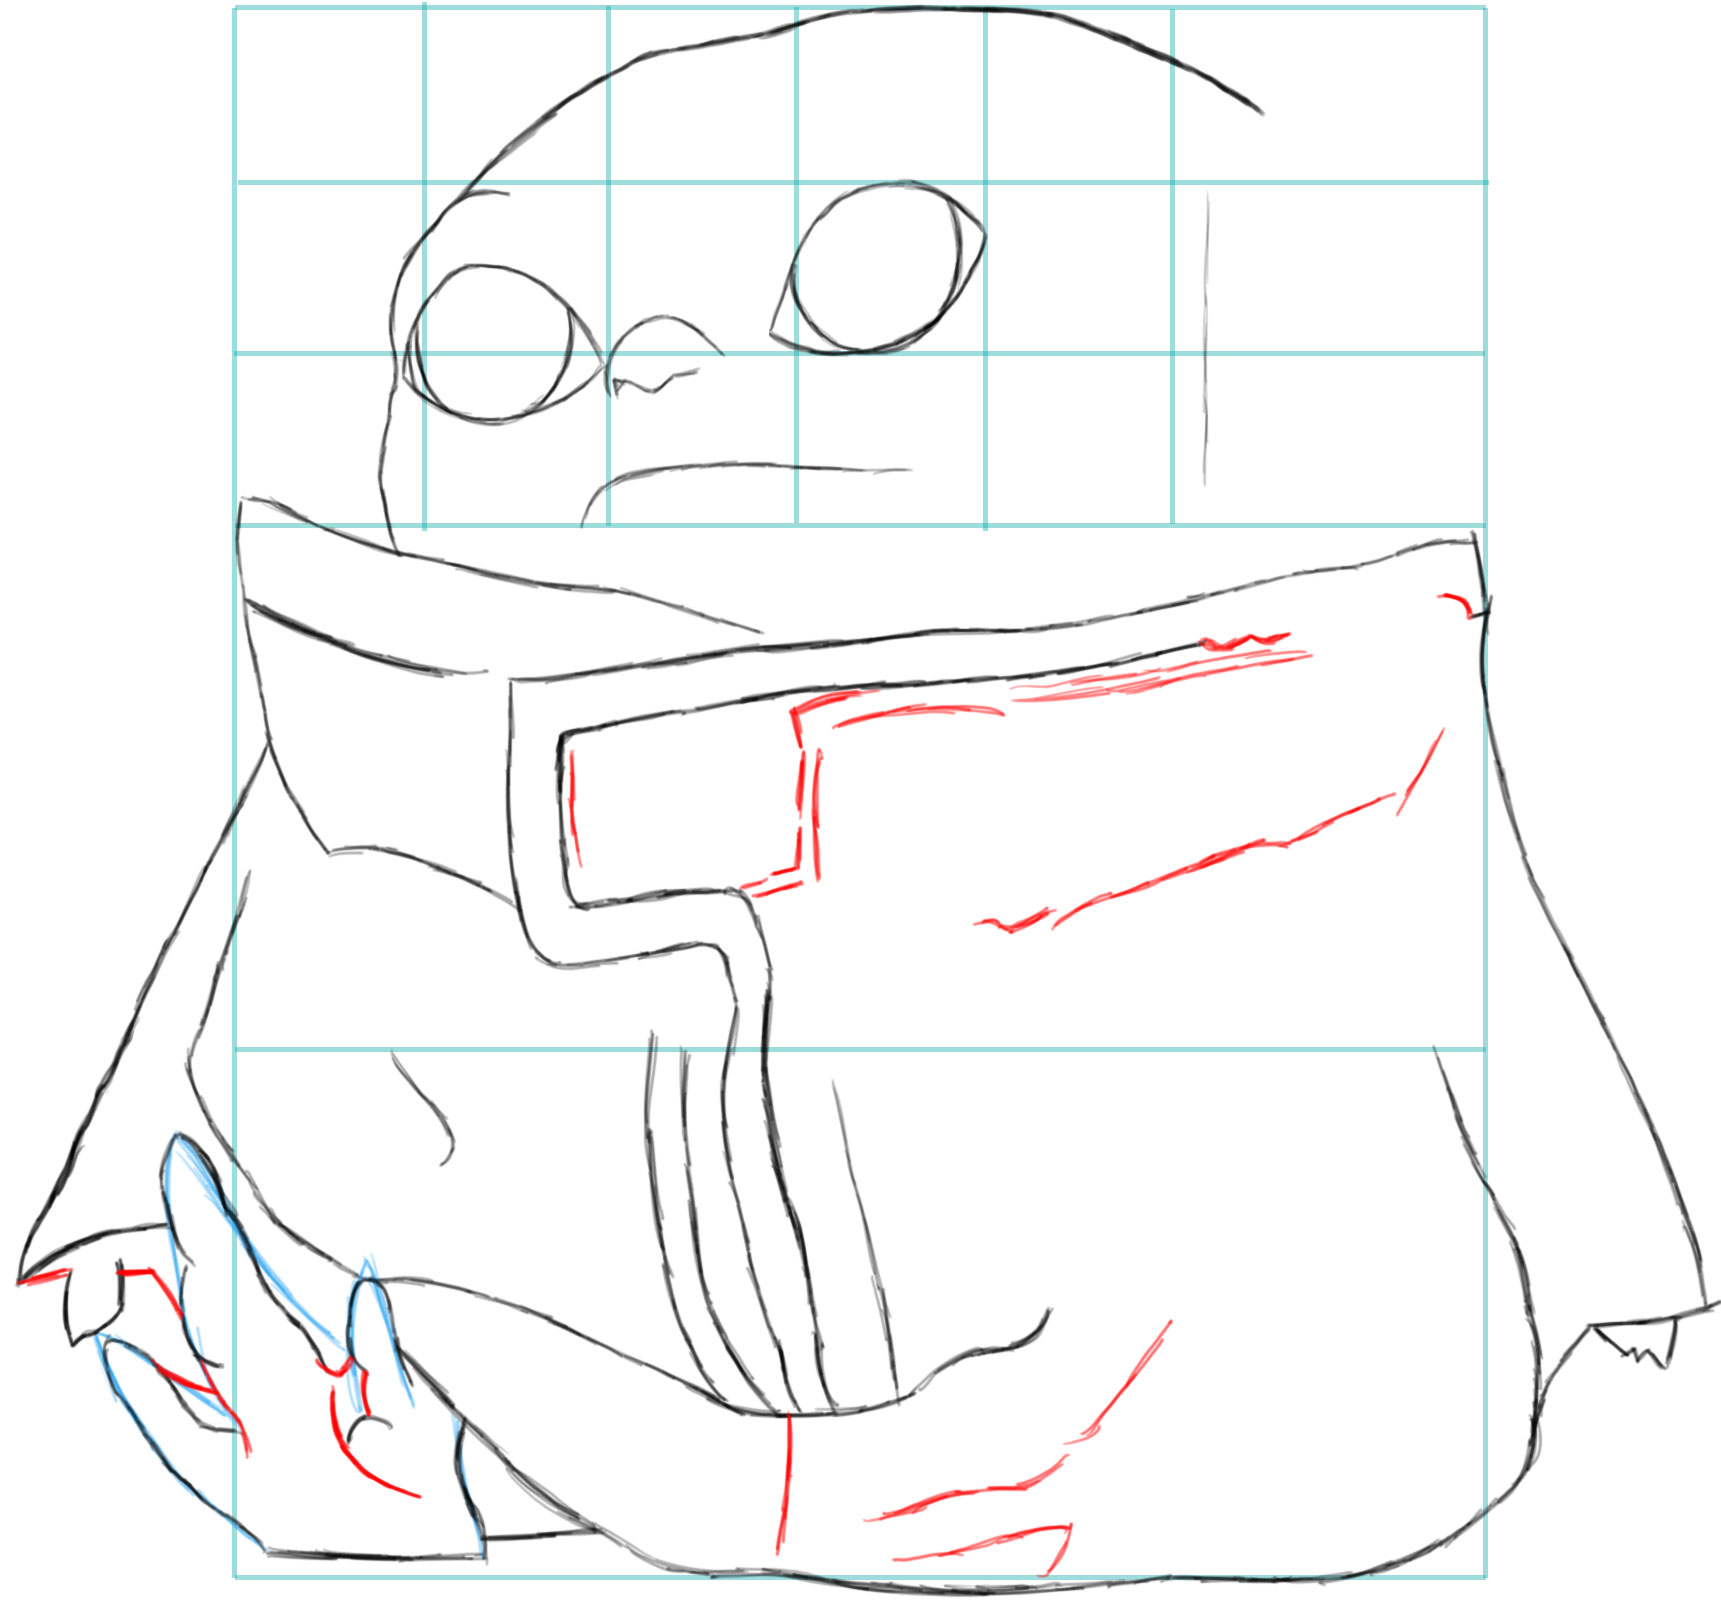
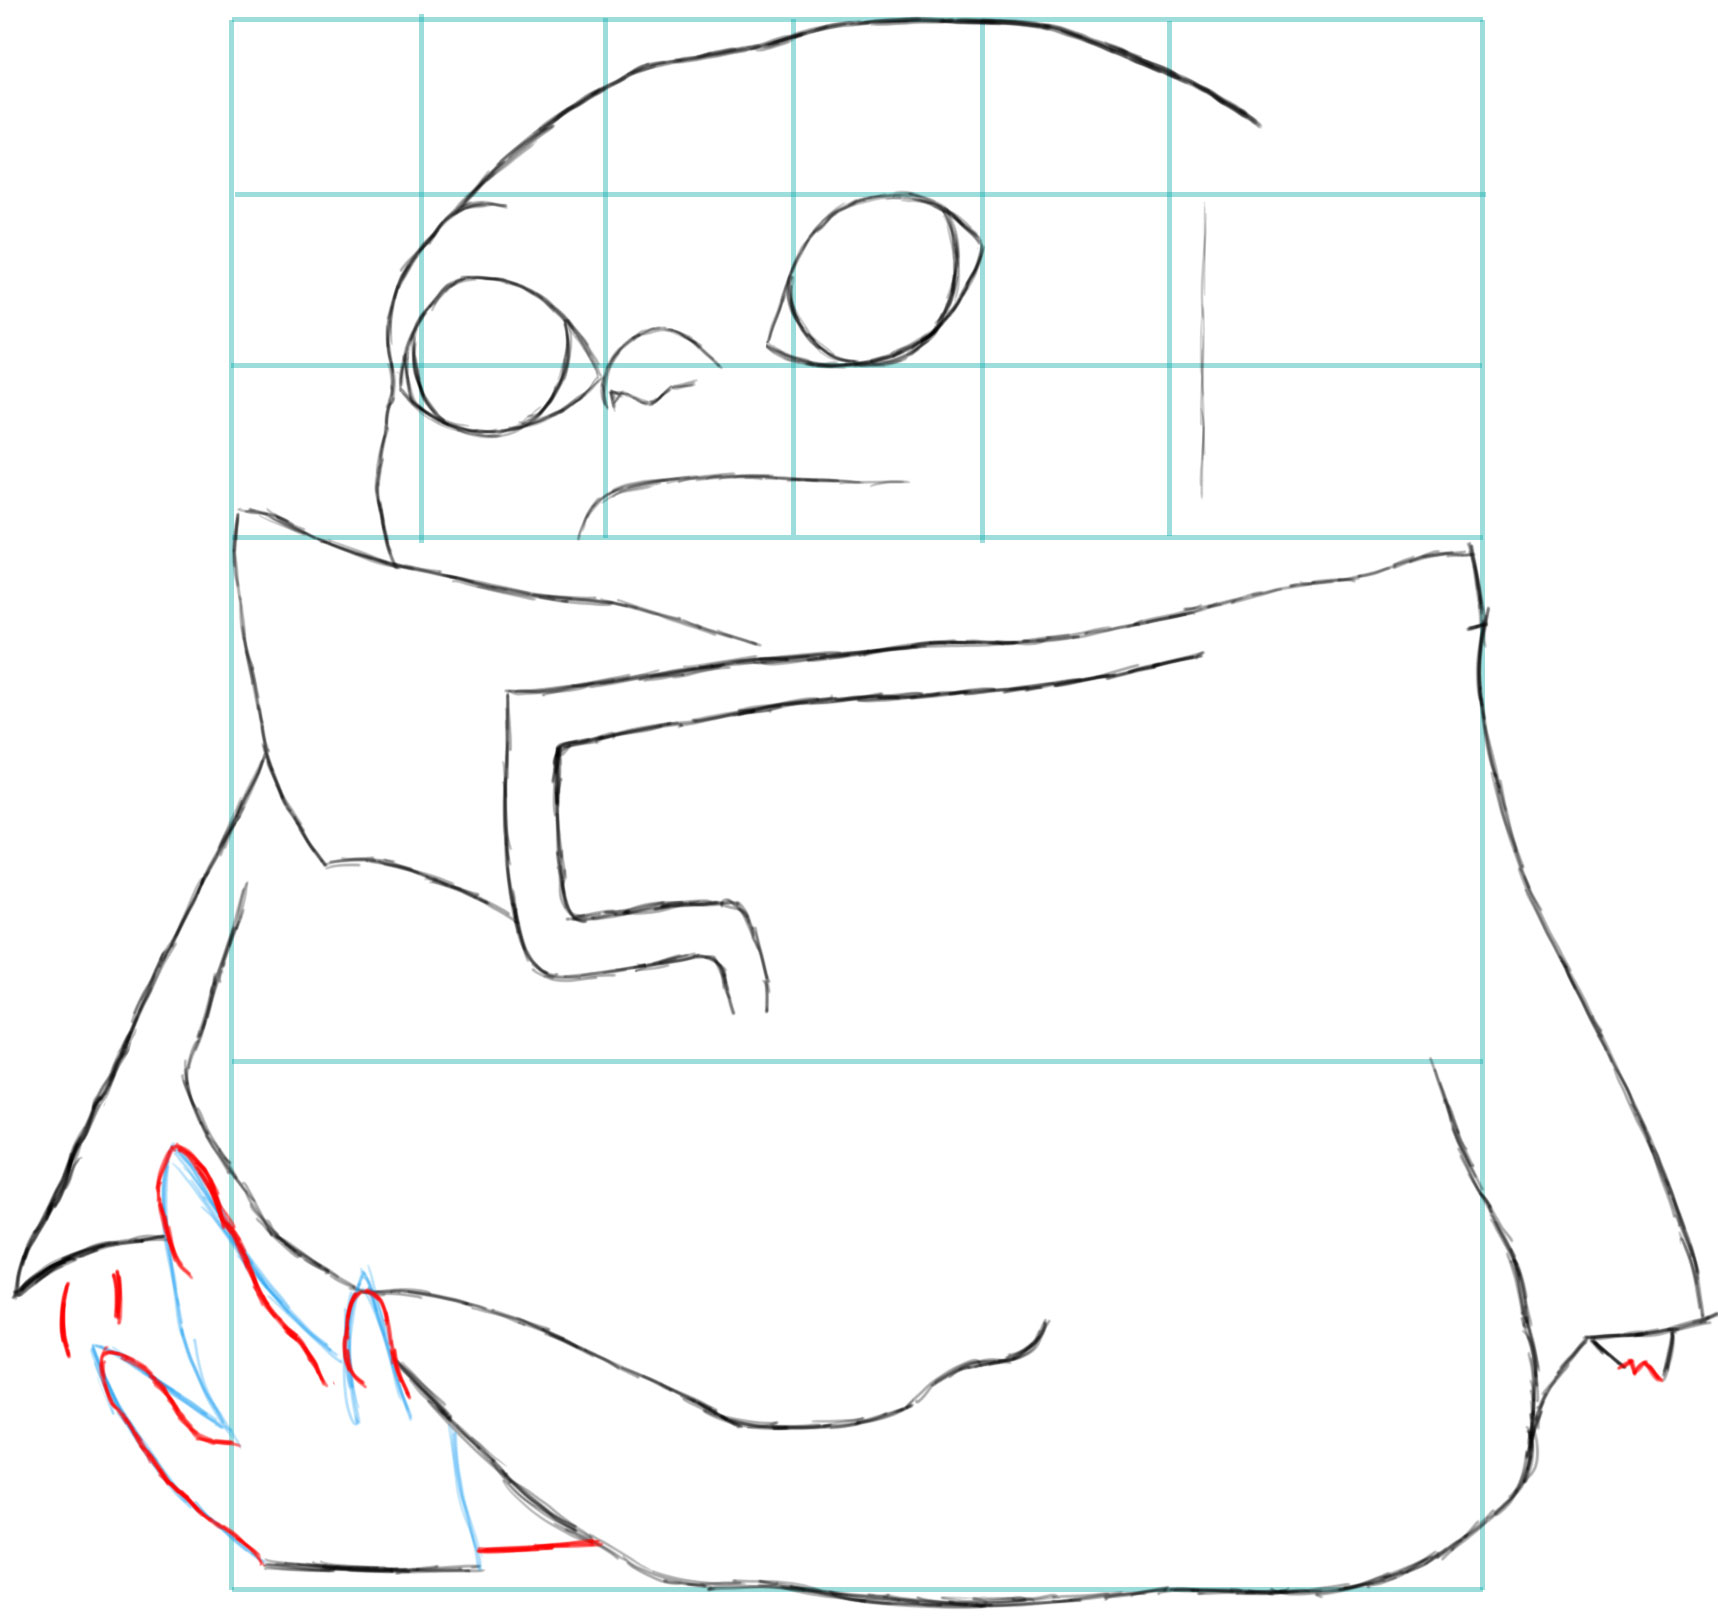
Stop up the human foot as well equally the left mitt and sleeve. Add more details to the sack.
(Step 17)
Add together more details to the sack, including a lot of zig-zags.
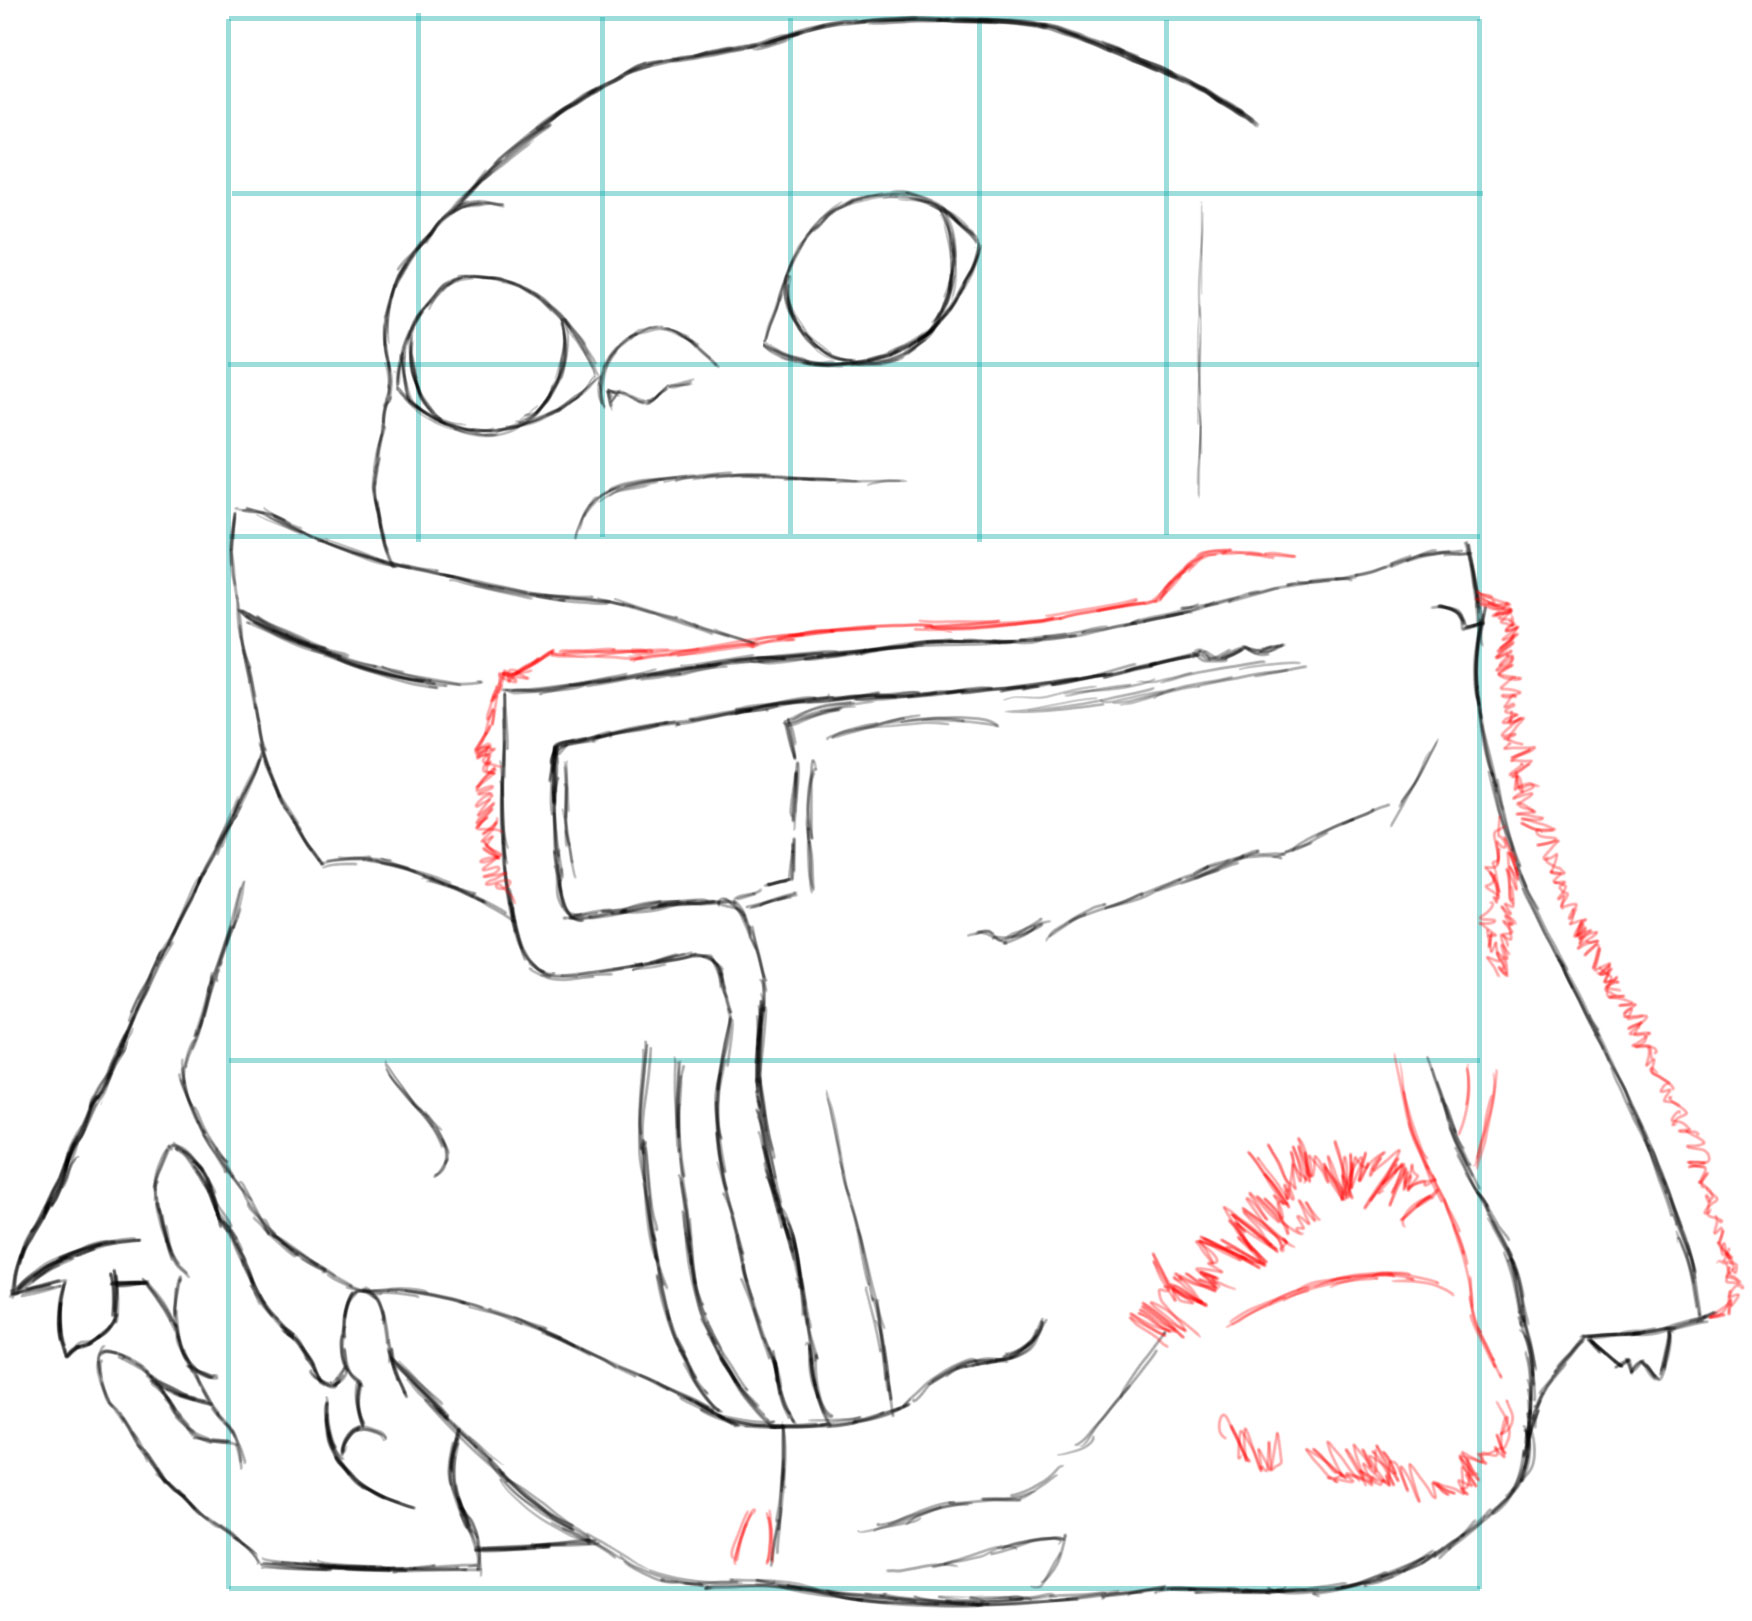
(Step 18)
Starting time cartoon the ears.
(Footstep nineteen)
Draw an "S" bend at the lesser of each ear. Describe a backward #three + "C" shape.
(Stride twenty)
Draw some of the finishing details. Describe a sideways "?" over the left heart.
(Stride 21)
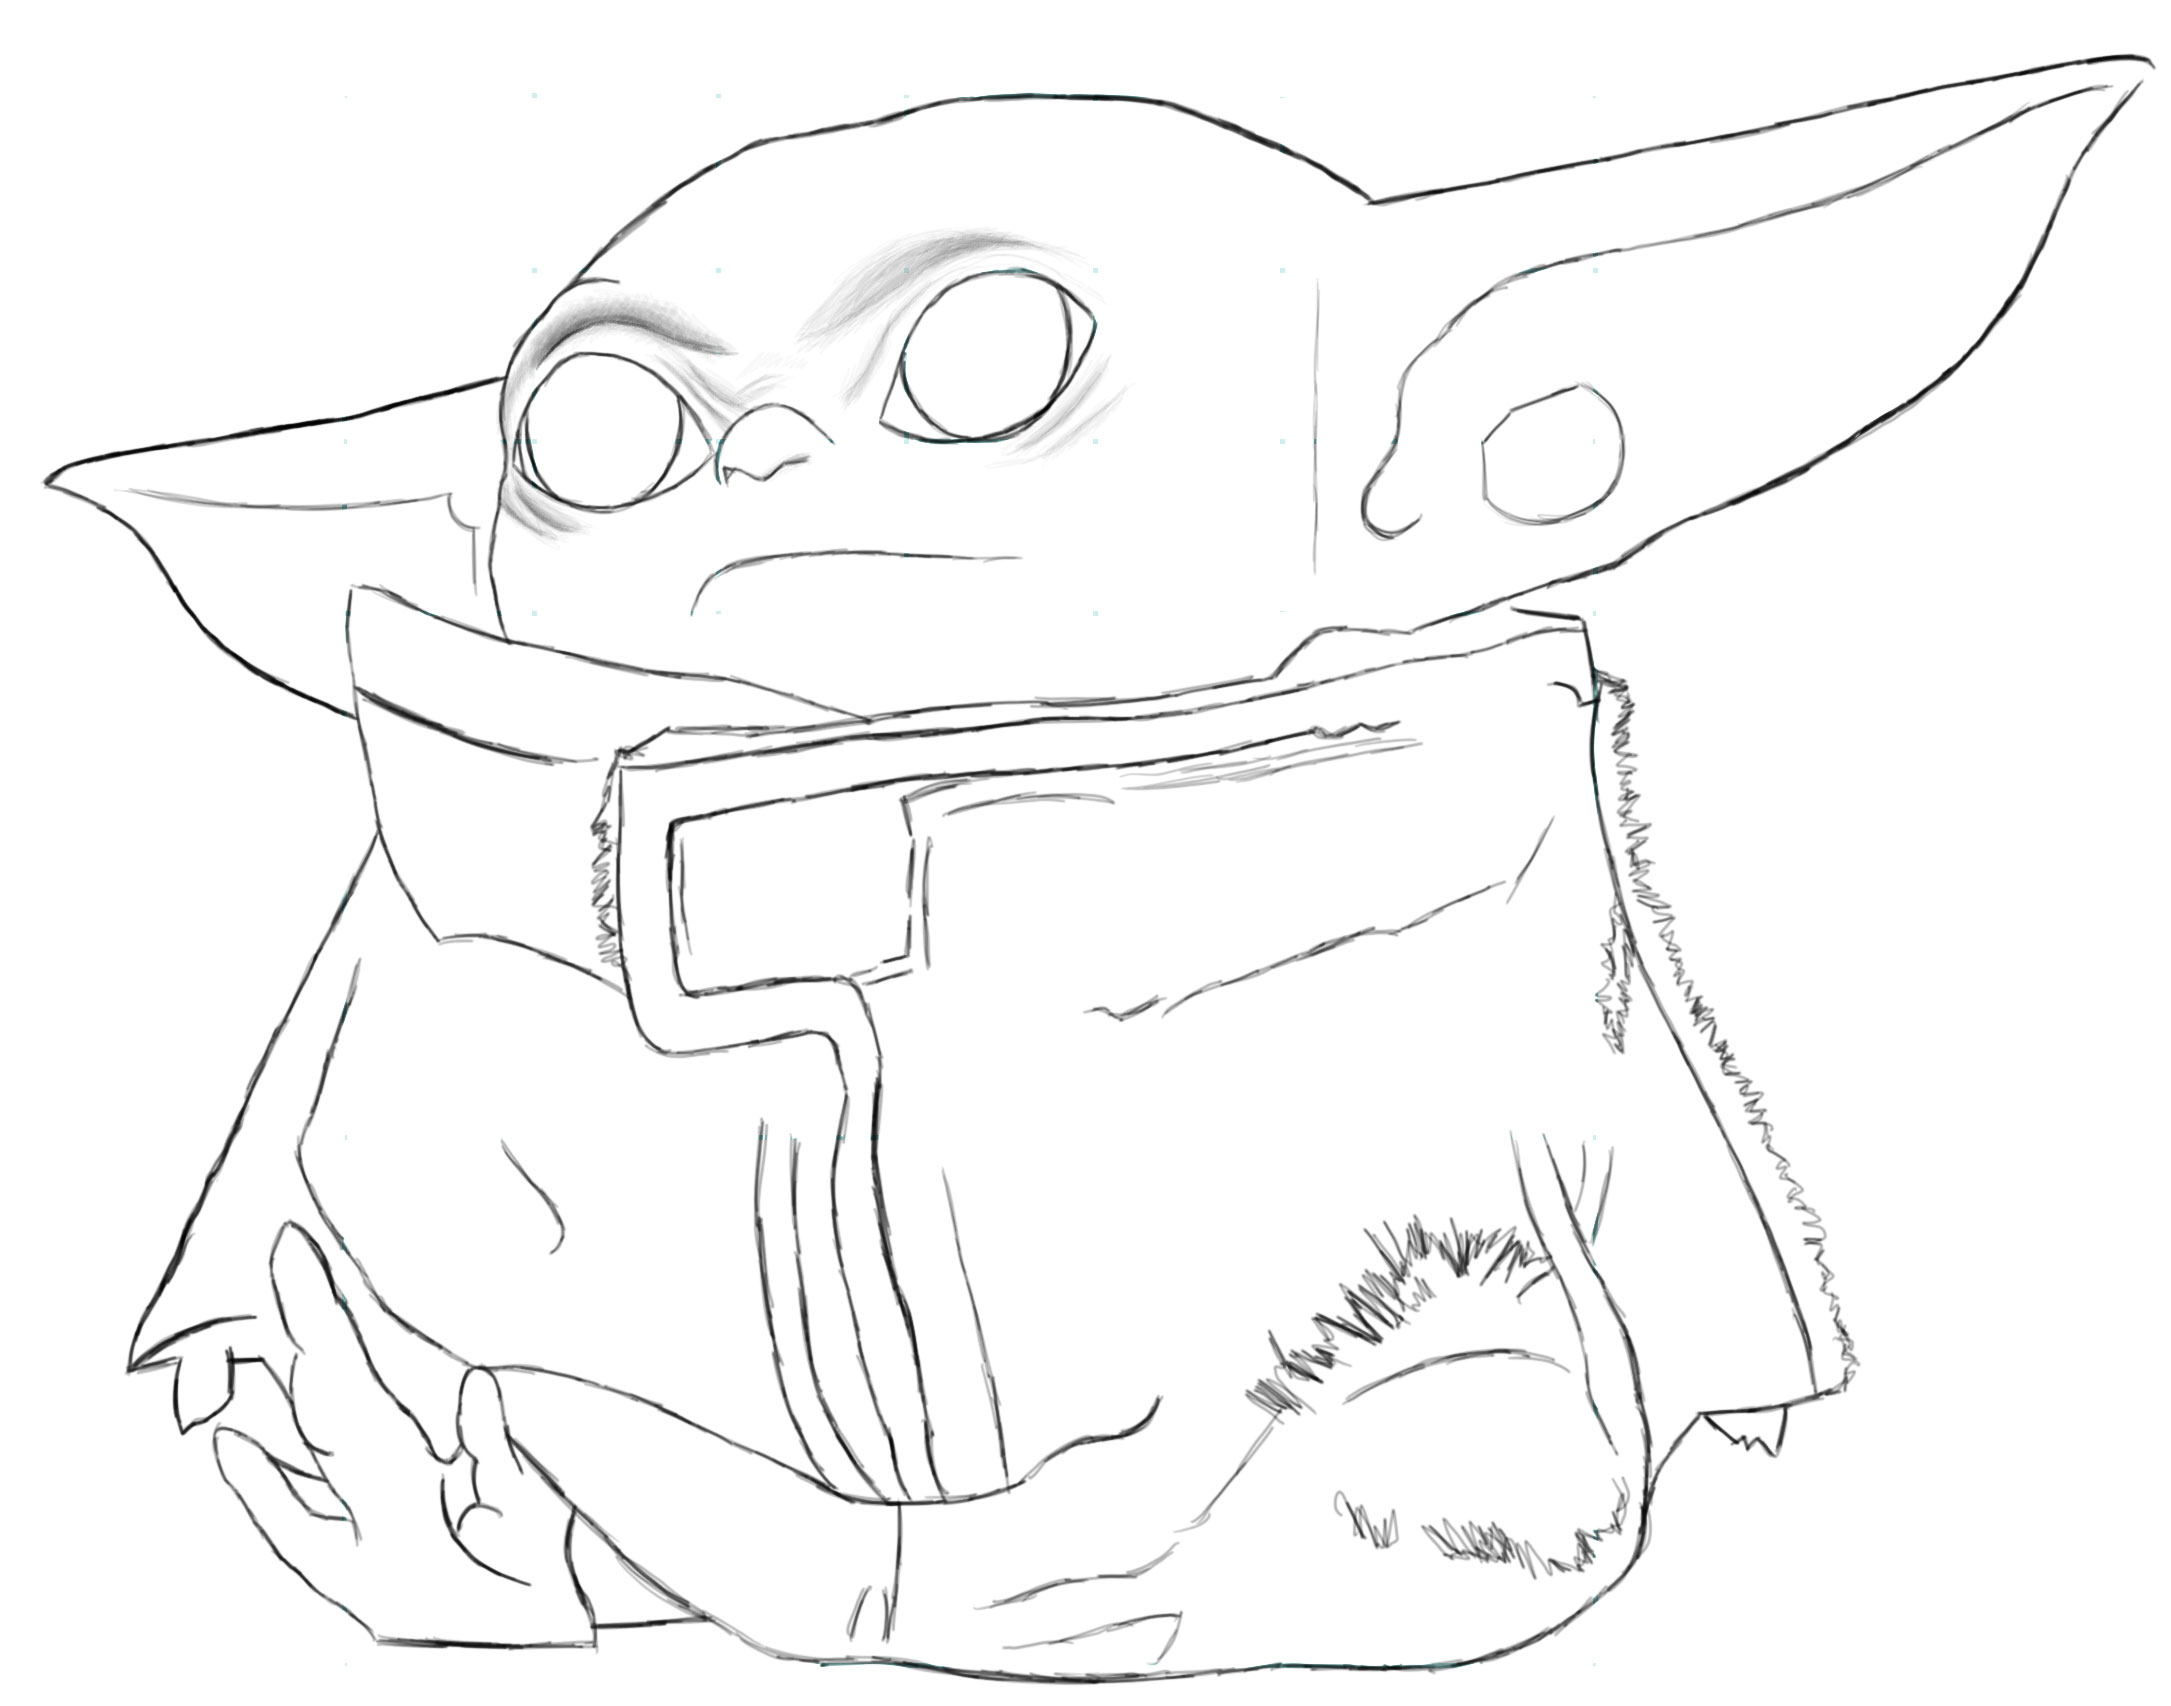
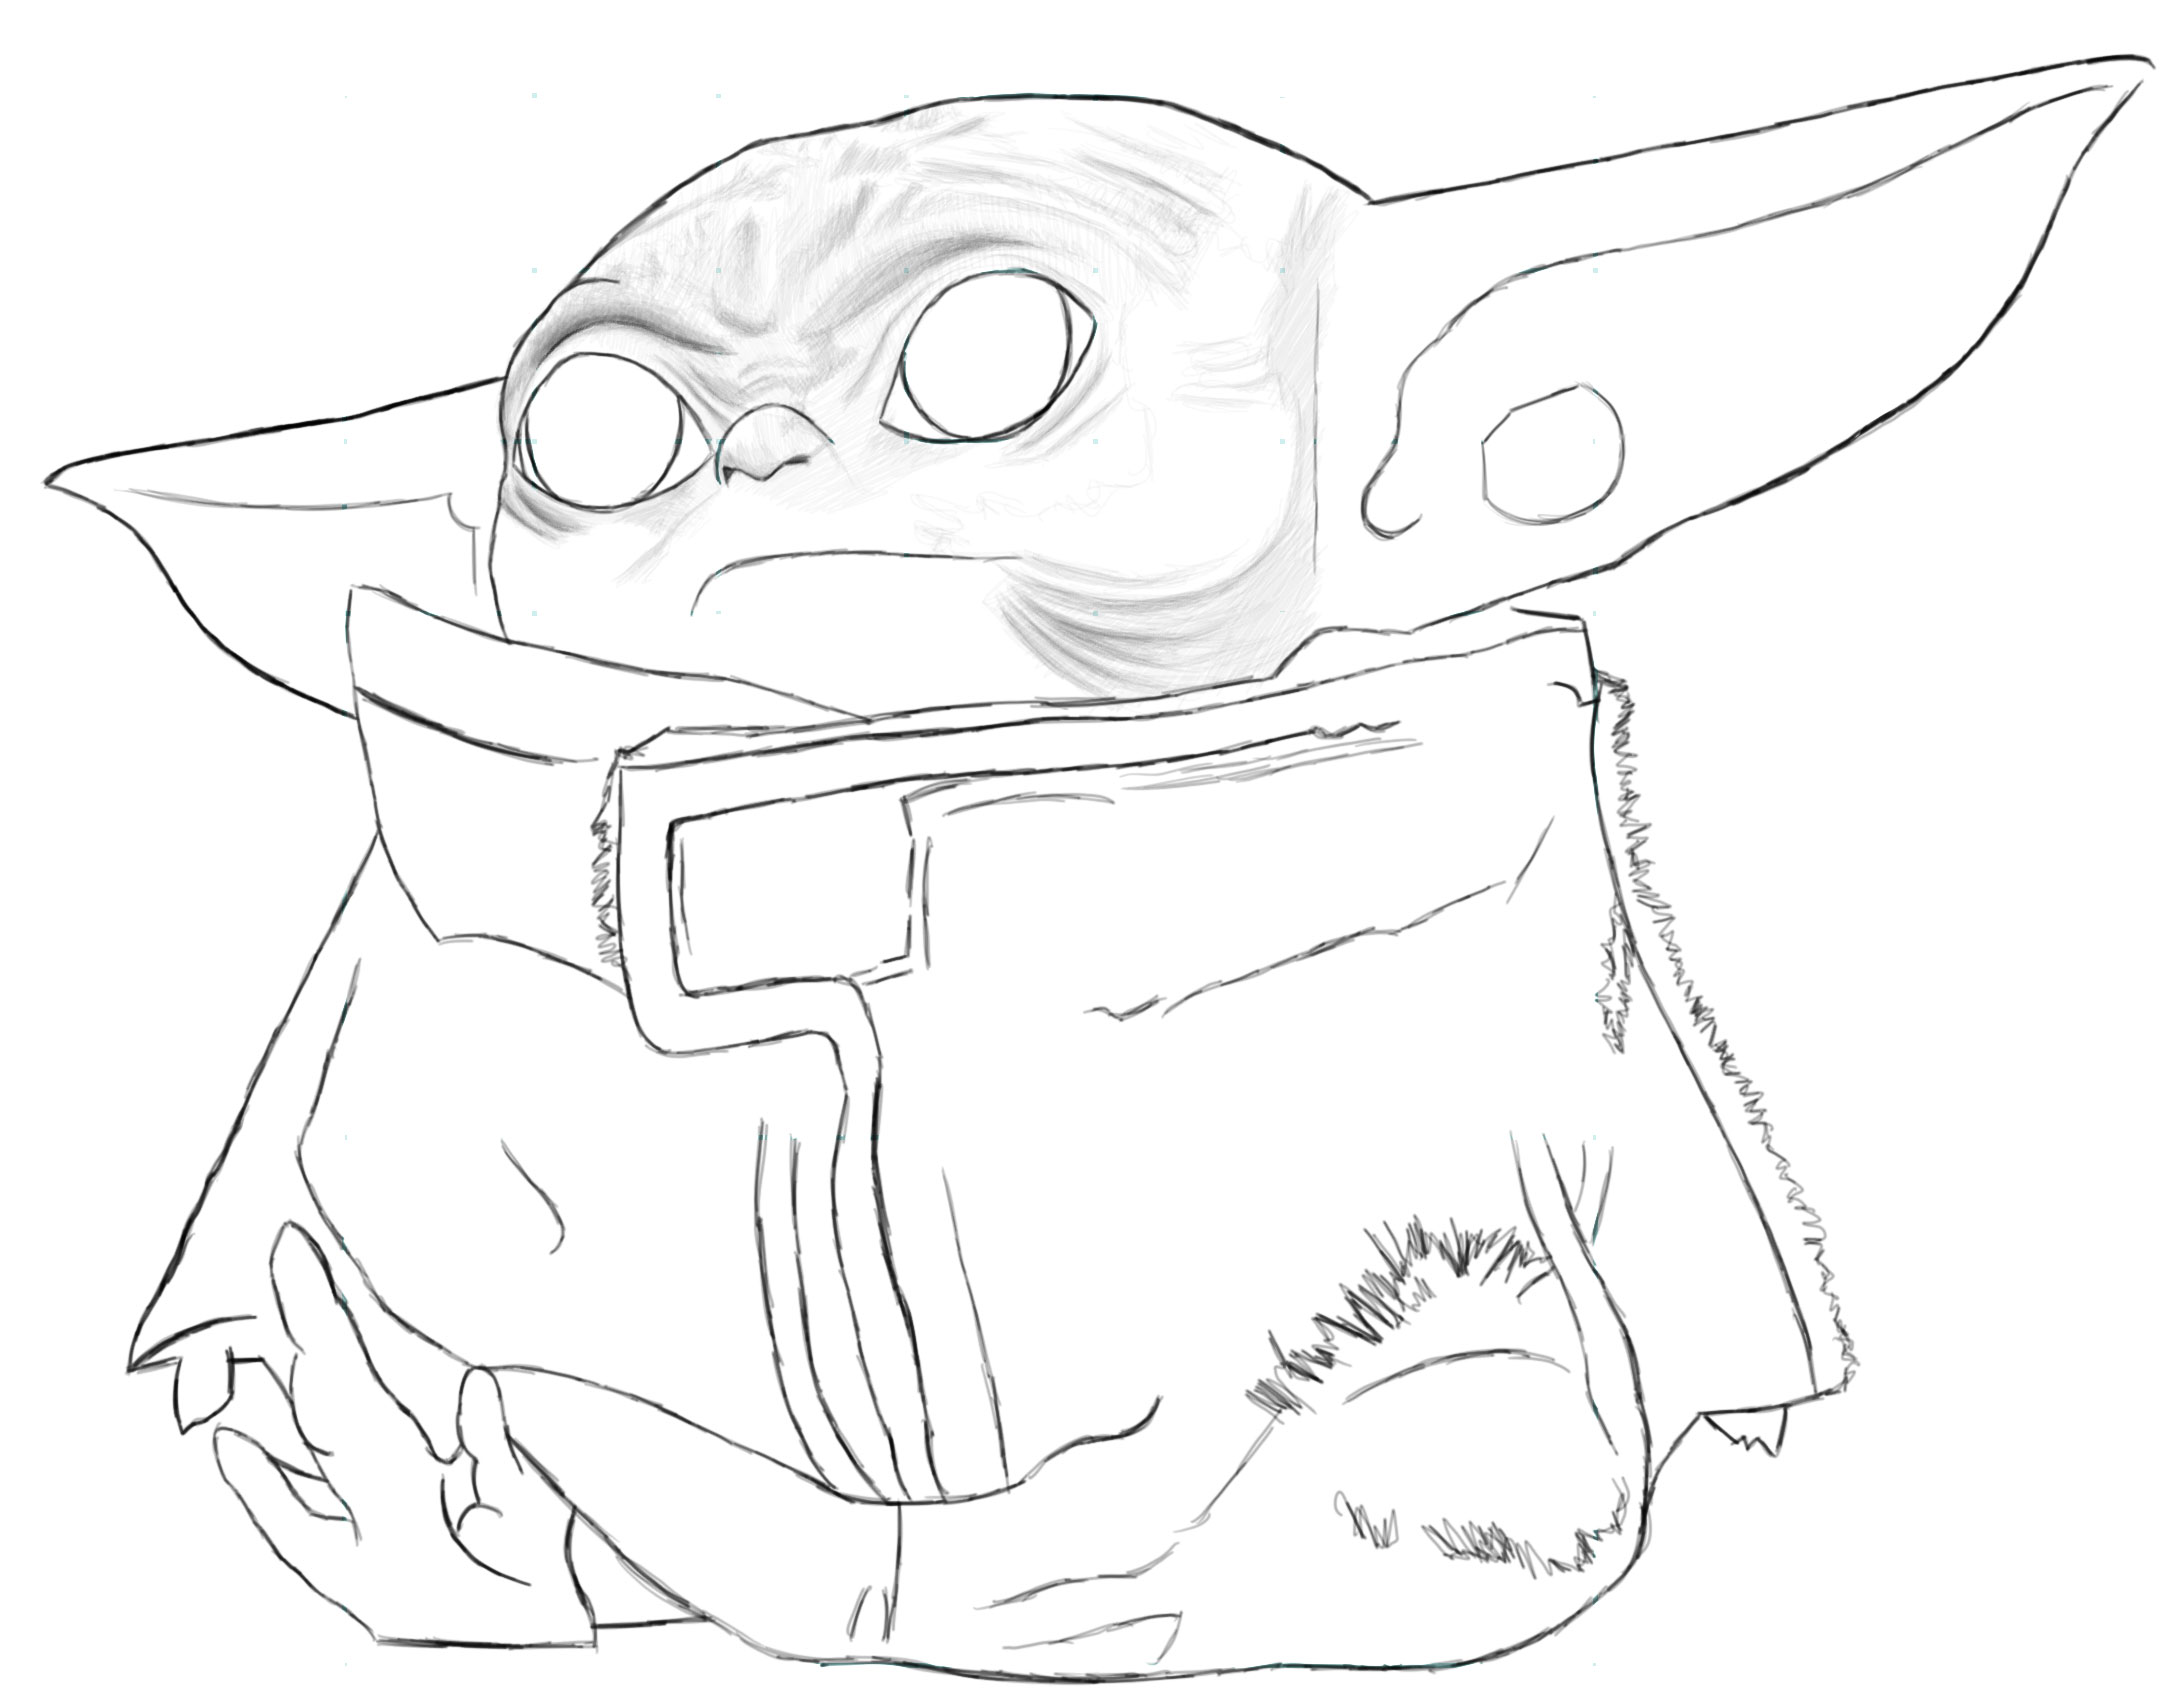
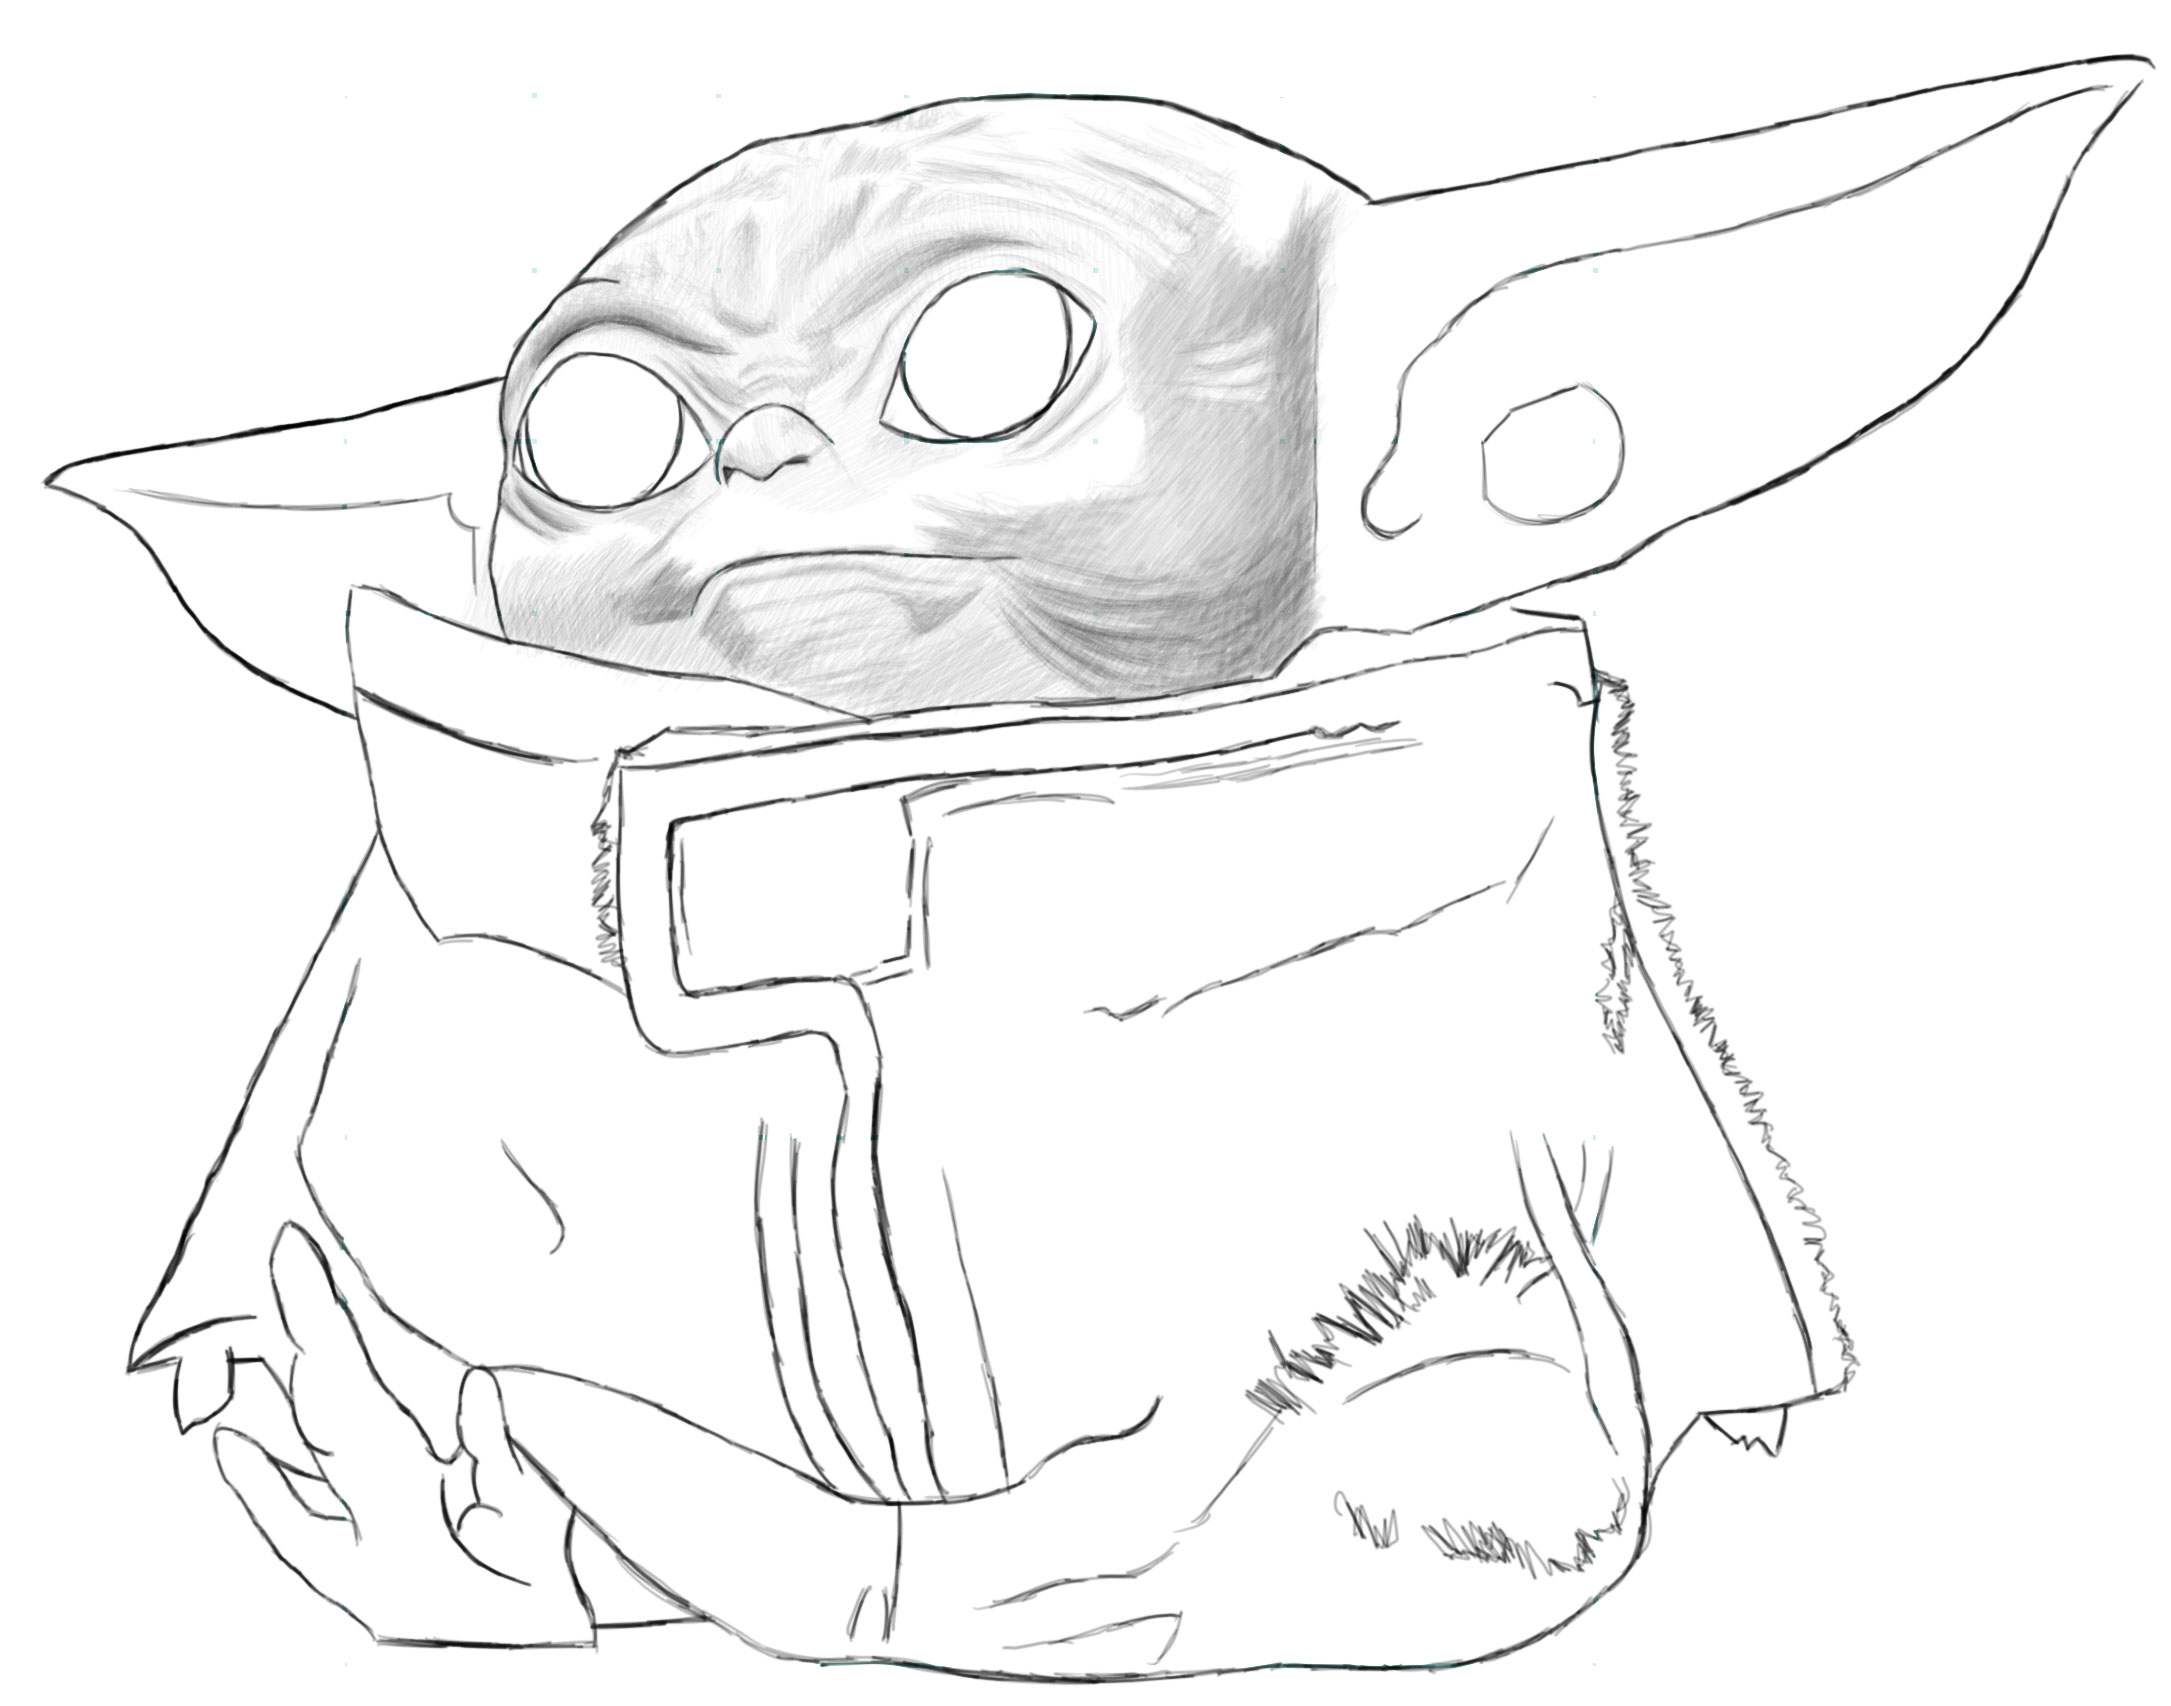
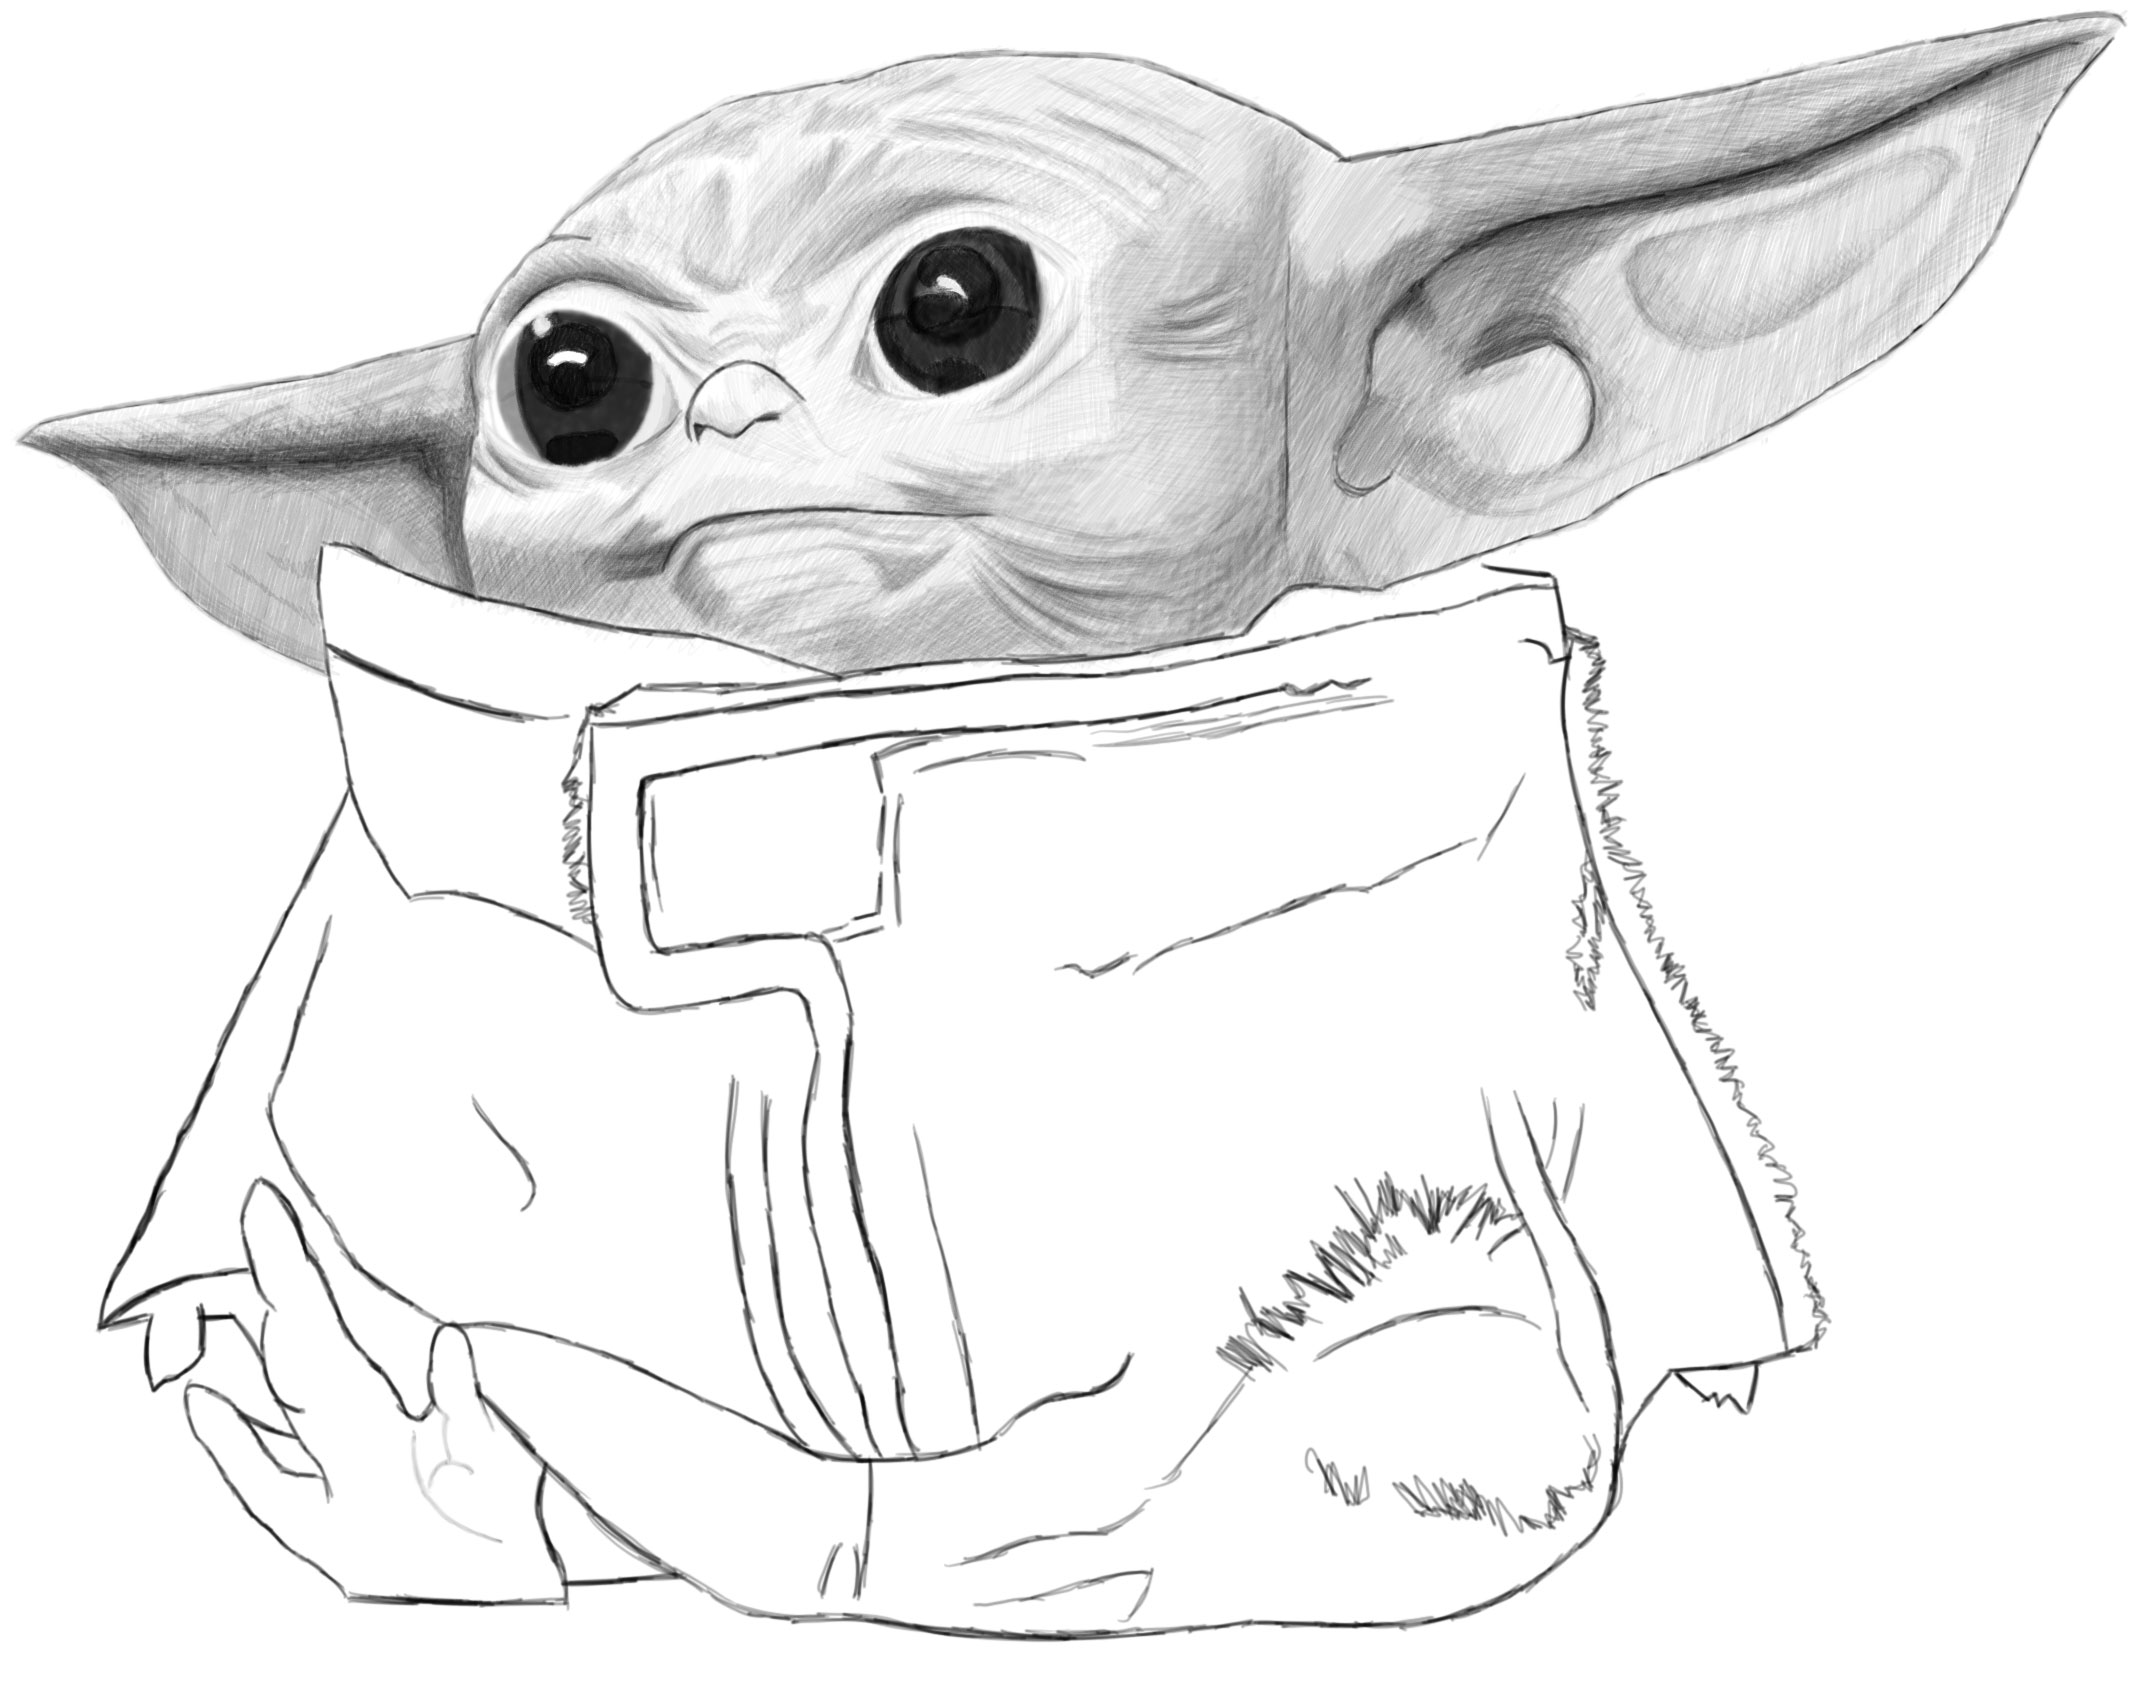
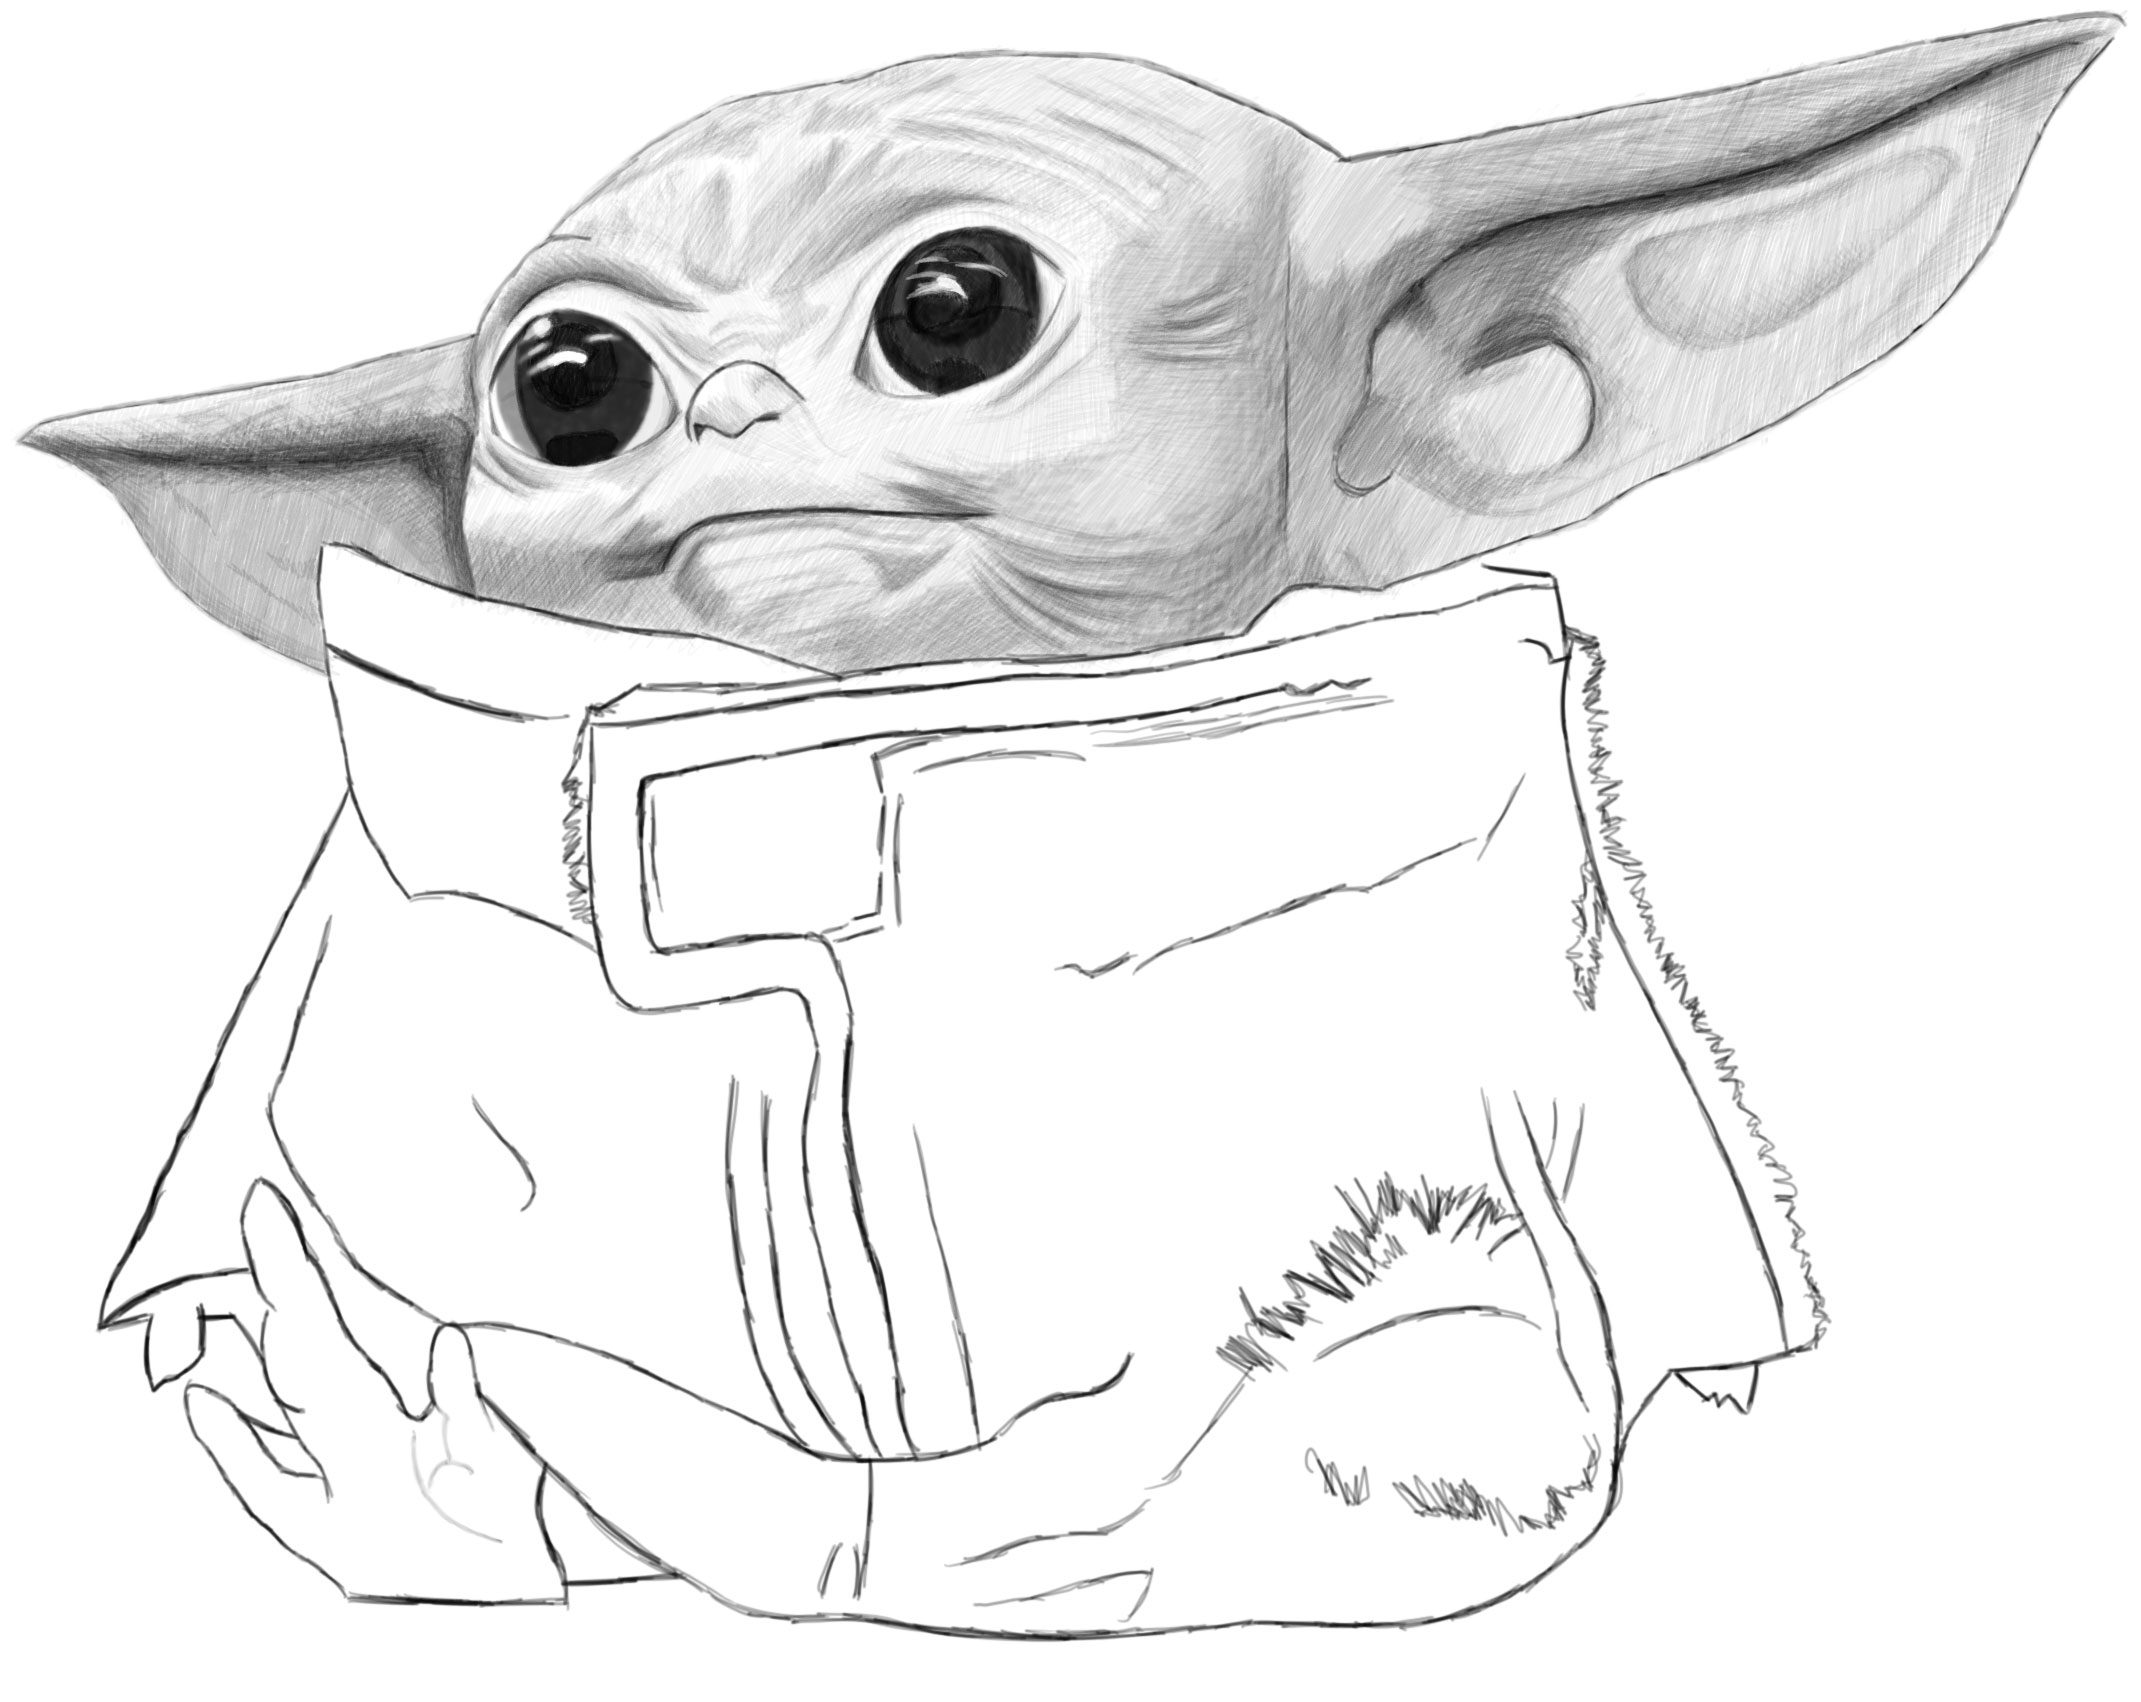
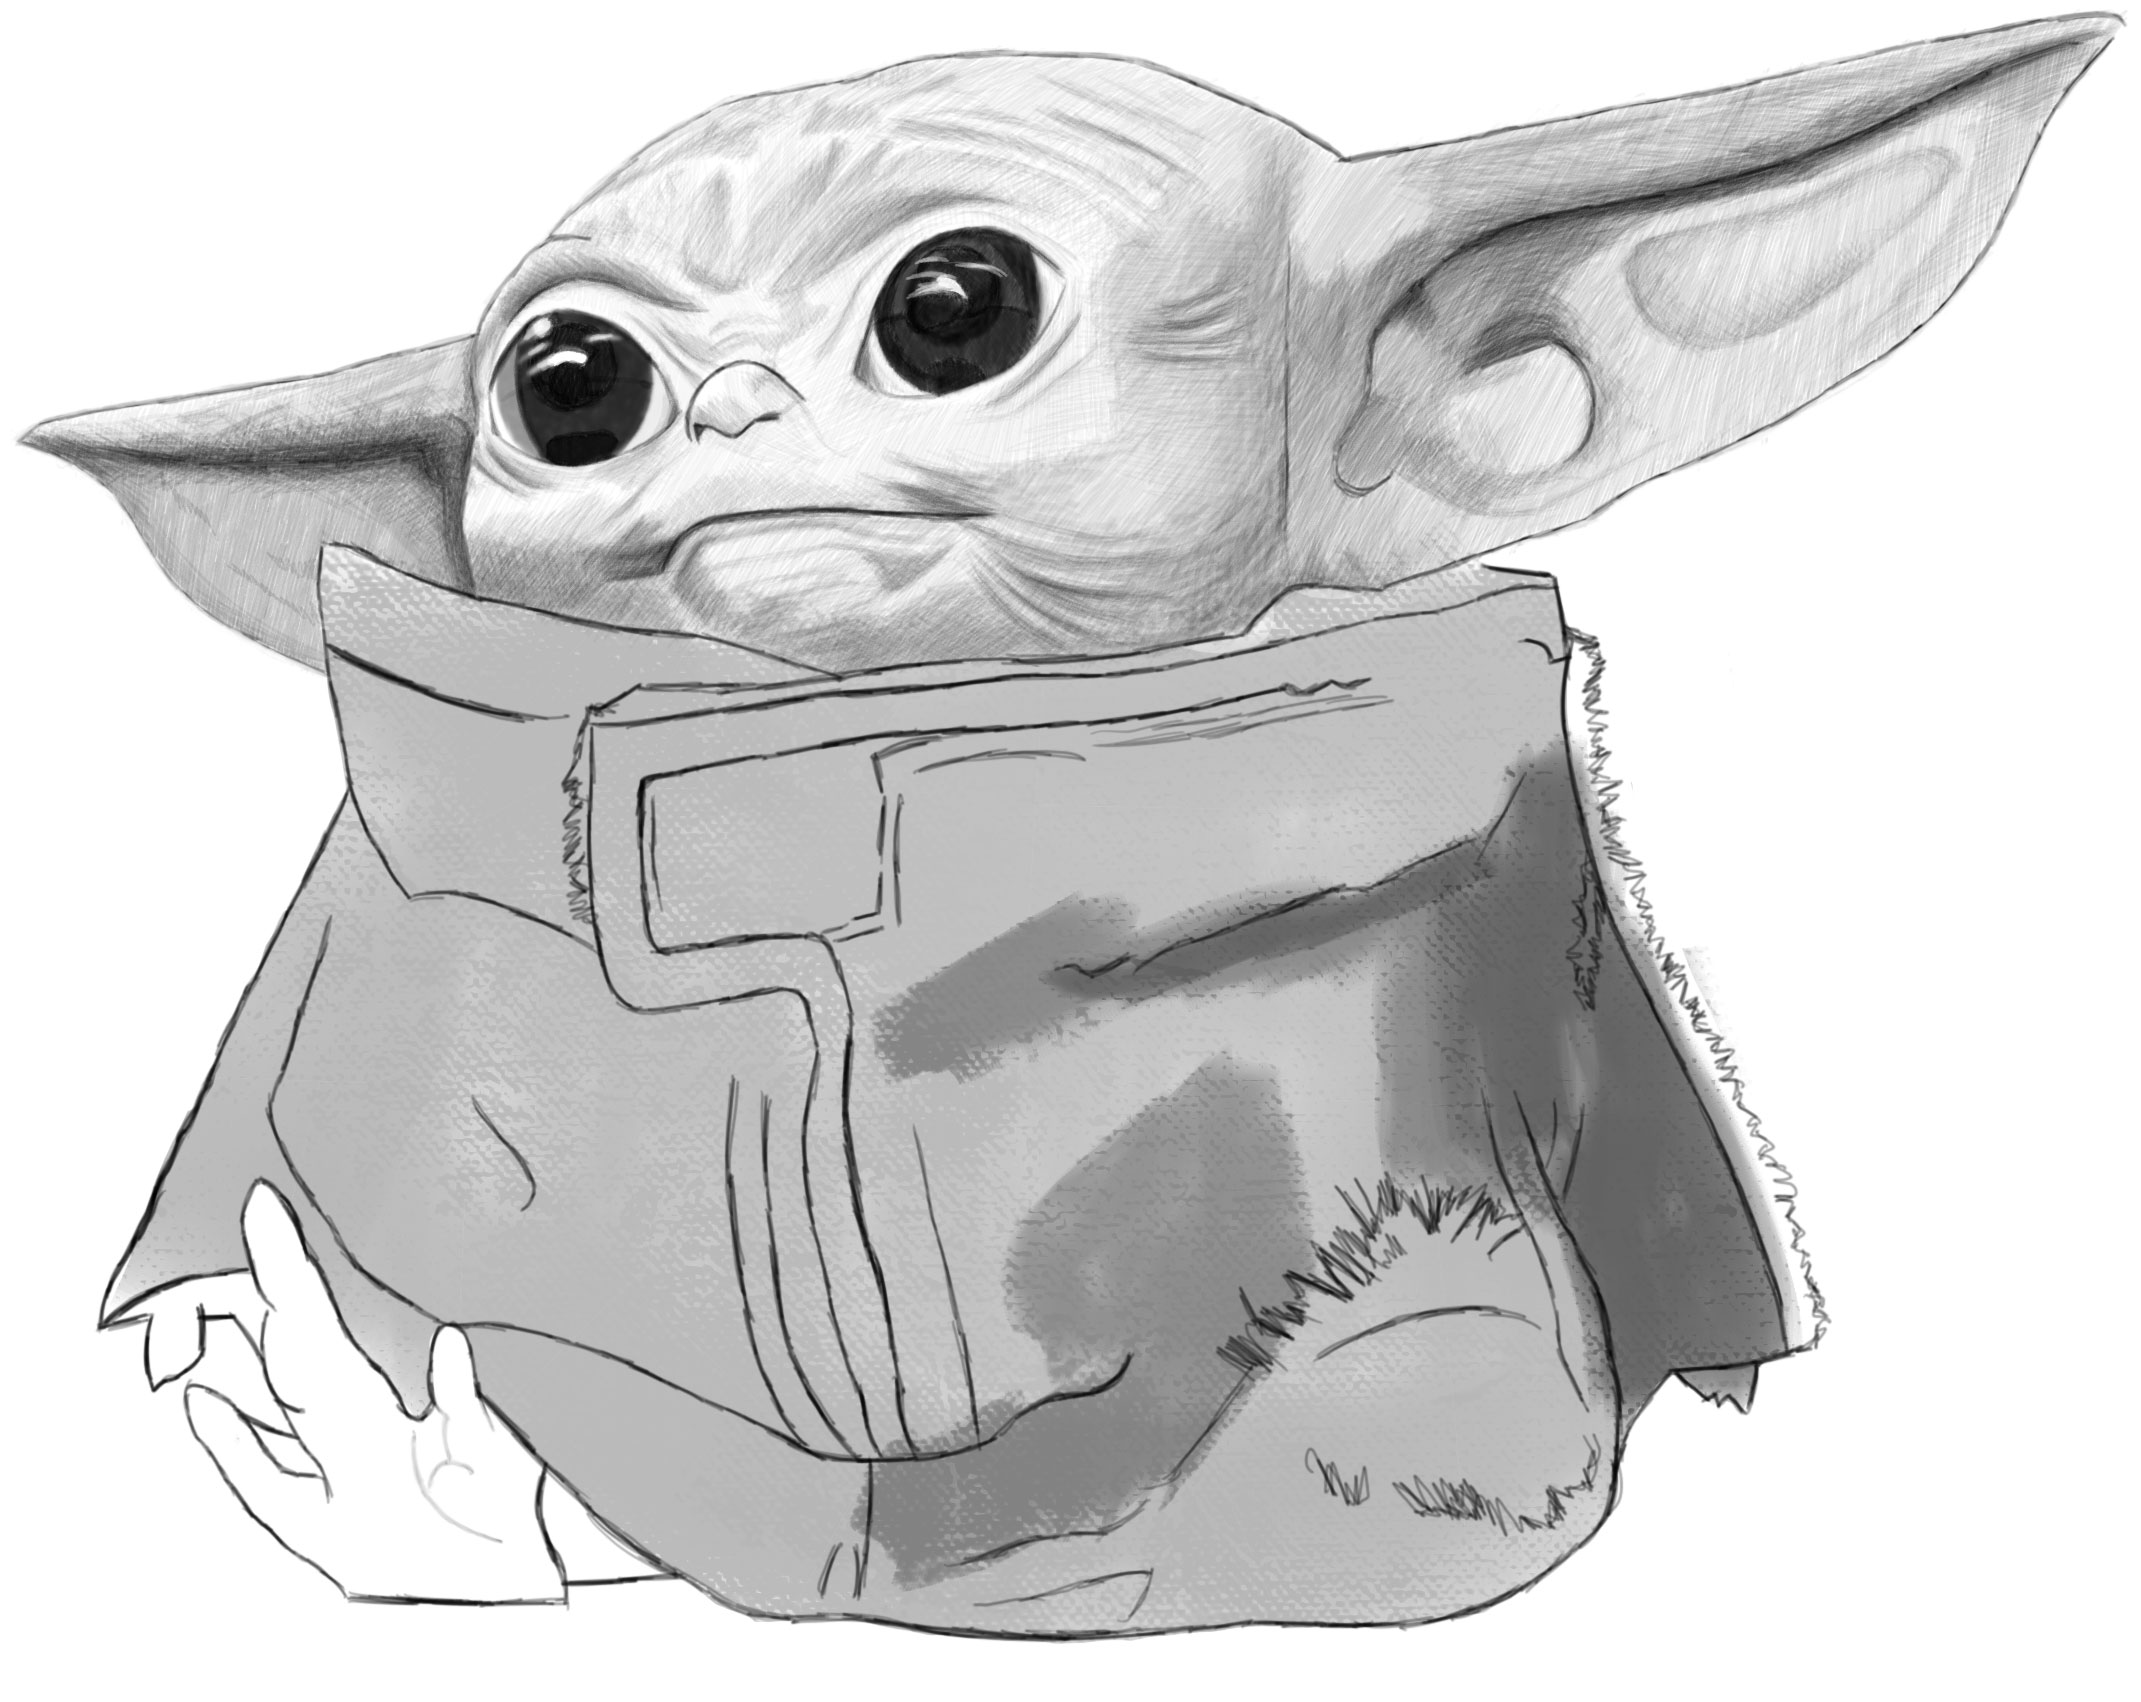
You can erase the guidelines and start shading baby Yoda.
(Step 22)

(STEP 23)
(Step 24)
(Step 25)

(Footstep 26)
(Footstep 27)
(STEP 28)
(Pace 29)
(STEP thirty)
(Stride 31)
(STEP 32)
(STEP 33)


Source: https://www.drawinghowtodraw.com/stepbystepdrawinglessons/2020/11/how-to-draw-baby-yoda-from-the-mandalorian-realistic-easy-step-by-step-drawing-tutorial/
Posted by: lopezunpleted.blogspot.com
0 Response to "How To Draw Baby Yoda"
Post a Comment